Easy Crochet Ear Warmer Pattern for Beginners
If you want a quick, cozy project that looks polished without complicated shaping, this easy crochet ear warmer pattern is a great place to start. It is made from one simple rectangle, so beginners can focus on even stitches and comfortable tension before learning more advanced construction.
This pattern is easy to resize for kids, teens, and adults. You can keep the finish simple with a flat seam or add a twist at the front for a modern headband look.
What You Need
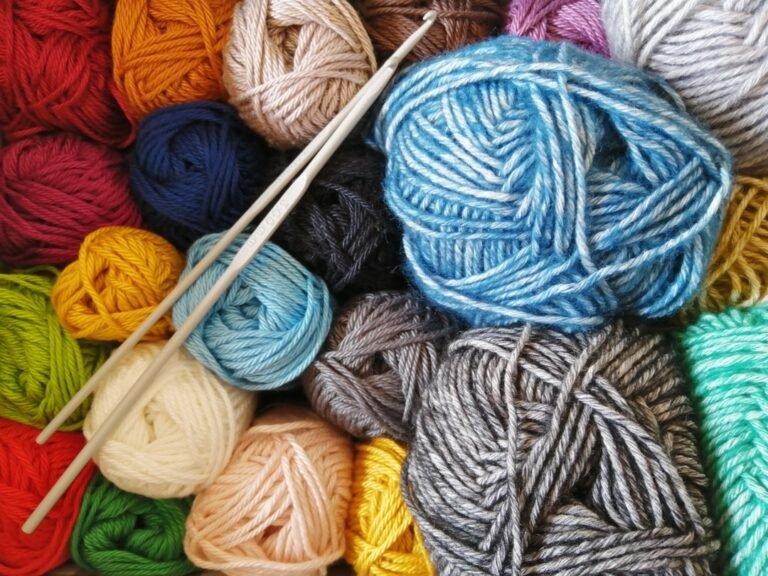
- Medium weight #4 yarn
- 5 mm (H-8) crochet hook, or a hook that gives you a comfortable fabric
- Yarn needle
- Scissors
- Measuring tape
A soft acrylic, wool blend, or washable merino-style yarn works well. For a warmer winter accessory, choose a yarn with a little loft. If the yarn feels stiff with a 5 mm hook, move up one hook size so the fabric can stretch comfortably around the head.
Stitches Used
- Chain (ch)
- Half double crochet (hdc)
- Back loop only (BLO)
If you are still learning basic stitches, review our guide to half double crochet before starting.
Easy Crochet Ear Warmer Pattern
Step 1: Make the Foundation Chain
Chain enough stitches to create the height you want for the ear warmer. For an adult band, a finished width of about 3.5 to 4.5 inches is comfortable for most people.
As a simple starting point, chain 16 with medium #4 yarn and a 5 mm hook. You can add or remove chains if you want a wider or narrower band.
Step 2: Crochet the First Row
Half double crochet in the second chain from the hook and in each chain across. Chain 1 and turn.
Step 3: Create the Ribbed Texture
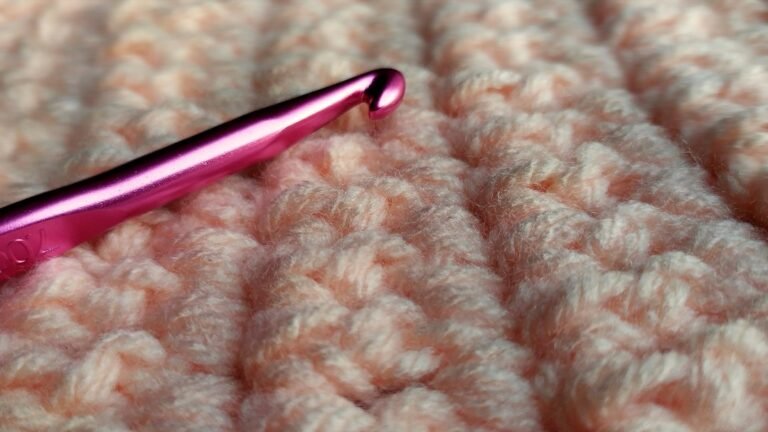
For the remaining rows, work one half double crochet in the back loop only of each stitch. Chain 1 and turn after every row.
Working in the back loop creates flexible ridges that look similar to knitted ribbing. Keep repeating rows until the rectangle fits comfortably around the head.
How Long Should the Ear Warmer Be?
Measure around the head where the ear warmer will sit. Because crochet ribbing stretches, the rectangle should usually be about 1 to 2 inches shorter than the actual head measurement.
- Child: measure the head and subtract about 1 inch.
- Teen or small adult: subtract about 1 to 1.5 inches.
- Average adult: subtract about 1.5 to 2 inches, depending on yarn stretch.
The best method is to wrap the unfinished strip around the head before seaming. It should feel snug but not tight.
How to Seam the Ear Warmer
Simple Flat Seam
Place the two short ends together. Thread a yarn needle with a long tail and whip stitch through both edges. Tie off securely and weave in the ends.
Twisted Front Seam
For a decorative twist, fold each short end in half like the letter C. Slide the two folded ends into each other so the four layers alternate. Sew through all four layers, fasten off, then turn the band right side out. The joined section will form a soft twist at the front.
Beginner Tips
- Count your stitches at the end of every few rows so the edges stay straight.
- Do not pull the turning chain too tightly.
- Try the band on before seaming.
- Use a yarn needle to hide tails inside the ribbed texture.
- If the fabric is too stiff, use a larger hook.
Easy Variations
Once you understand the basic rectangle construction, you can make several versions from the same pattern. Use two colors and change yarn every few rows for stripes, hold two thin yarns together for a marled look, or add a small crochet flower after seaming.
You can also use single crochet in the back loop for tighter ribbing or experiment with the techniques in our simple crochet border guide to finish the edges.
How Much Yarn Do You Need?
Most adult ear warmers use only a small amount of medium weight yarn, often well under one standard skein. This makes the pattern useful for leftover yarn from larger projects.
How to Size an Ear Warmer
Measure around the head where the ear warmer will sit. Because ribbing stretches, the finished band usually needs to be slightly smaller than the head measurement so it stays in place. Make a short swatch and stretch it comfortably to estimate how much negative ease your yarn can handle.
Width and Ear Coverage
A band around 3–4 inches wide works for many adults, but the best width depends on style and climate. For more winter coverage, make it wider; for a lighter accessory, use a narrower band. Check that the edges do not fold uncomfortably near the ears.
Choosing the Seam
A flat whip-stitch seam is simple and comfortable. A decorative twist seam creates a gathered front, but it also adds thickness, so place and sew it carefully. Before cutting the yarn, try the band on to confirm both circumference and seam comfort.
Measure the Finished Stretch, Not Just the Length
An ear warmer needs enough negative ease to stay in place, but the amount depends on the yarn and stitch pattern. Before seaming, pin the short ends together and try the band on. If it slides easily, shorten it by a row or two; if it leaves pressure marks or feels uncomfortable, add length. This fitting step is more dependable than using one universal circumference.
Choose the Seam for the Look You Want
A flat seam keeps the join low-profile, while an interlocked or twisted seam creates a decorative front. Whichever style you choose, sew through consistent parts of the edge stitches so the join does not become tighter than the rest of the fabric.
A Final Fit Check Before Seaming
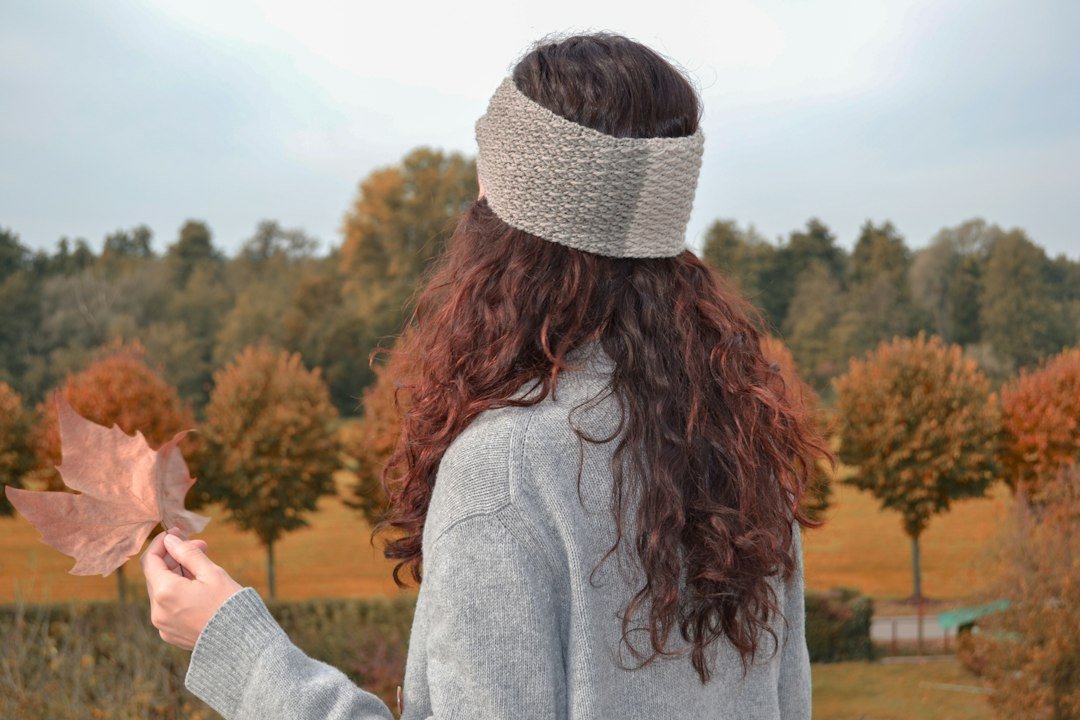
This easy crochet ear warmer is a practical beginner project because it uses repetition, simple shaping, and a small amount of yarn. Make one in a neutral color for everyday wear or crochet several in seasonal colors for handmade gifts.
If you enjoyed this project, try our beginner crochet beanie or the easy crochet wrist warmers pattern next.
Featured photo by Yane Fernandes via Unsplash.