How to Weave in Ends in Crochet – Beginner Guide
Weaving in ends is one of the final steps that turns a crochet project from “almost finished” into something neat, secure, and ready to use. It can seem like a small detail, but properly secured yarn tails help your work hold up through wearing, washing, and everyday use.
This guide explains a simple method you can use for most crochet projects, plus a few adjustments for different yarns and stitch patterns. If you are still learning the basics, our crochet guide for absolute beginners is a useful place to start.
What Does “Weave in Ends” Mean?
Whenever you begin a project, join a new ball of yarn, or change colors, you create loose yarn tails. Weaving in ends means threading those tails through the finished stitches so they are hidden and held in place.
The goal is not simply to hide the yarn. A good finish gives the tail enough direction changes and friction that it is less likely to slip back out.
What You Need
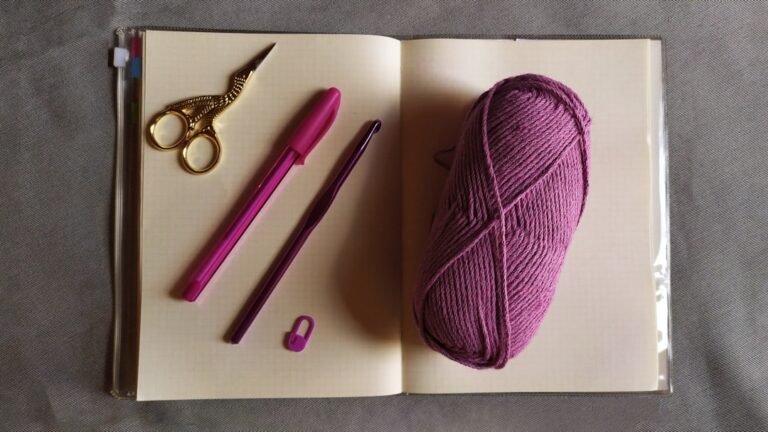
- A yarn or tapestry needle with a blunt tip.
- Scissors.
- Your finished crochet piece.
Choose a needle with an eye large enough for your yarn. For very bulky yarn, a large plastic yarn needle can be easier to thread.
Before You Start
Leave a yarn tail of about 6 inches whenever possible. A very short tail is harder to secure well. If you know the item will receive a lot of wear, leaving 8 inches gives you more room to work.
It is usually best to weave in ends on the wrong side of the fabric, especially for garments, accessories, and blankets where one side is intended to look cleaner.
How to Weave in Ends Step by Step
Step 1: Thread the Yarn Needle
Insert the yarn tail through the eye of the needle. If the yarn end is fuzzy, flatten it between your fingers or trim just the frayed tip.
Step 2: Follow the Structure of the Stitches
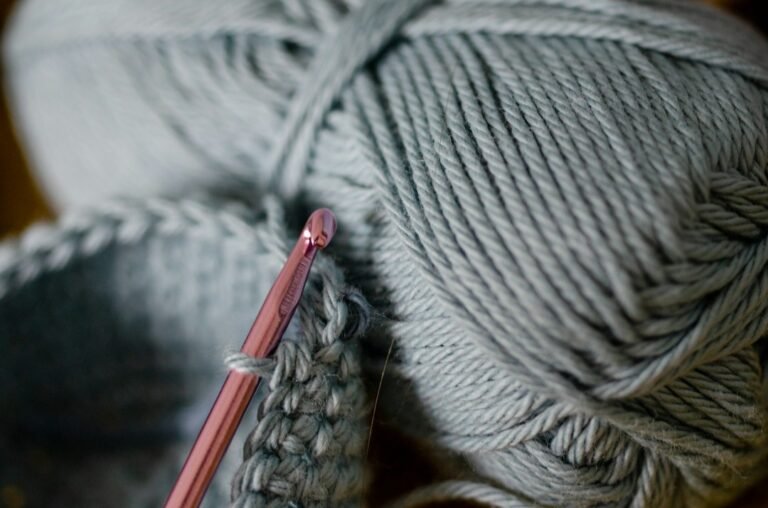
Run the needle under several nearby stitches on the wrong side of the fabric. Try to follow the existing stitch direction instead of pulling the tail straight across an open area.
Step 3: Change Direction
After weaving through about an inch or two, turn and pass the needle through a nearby set of stitches in another direction. This change of direction is what helps lock the tail in place.
Step 4: Change Direction Again
For extra security, make one more pass in a third direction. Avoid splitting the yarn aggressively with the needle, but it is fine to travel through dense parts of stitches where the tail will stay hidden.
Step 5: Trim the Excess
Gently stretch or smooth the crochet fabric so it returns to its natural shape, then trim the remaining tail close to the surface without cutting the project stitches.
How to Weave Ends Into Different Crochet Fabrics
Single Crochet
Single crochet is dense, so it is easy to hide tails inside the backs of several stitches. Travel horizontally for a short distance, then reverse direction.
Double Crochet
Double crochet has more open space. Instead of stretching the tail across gaps, weave through the thicker posts and lower sections of neighboring stitches.
Ribbing
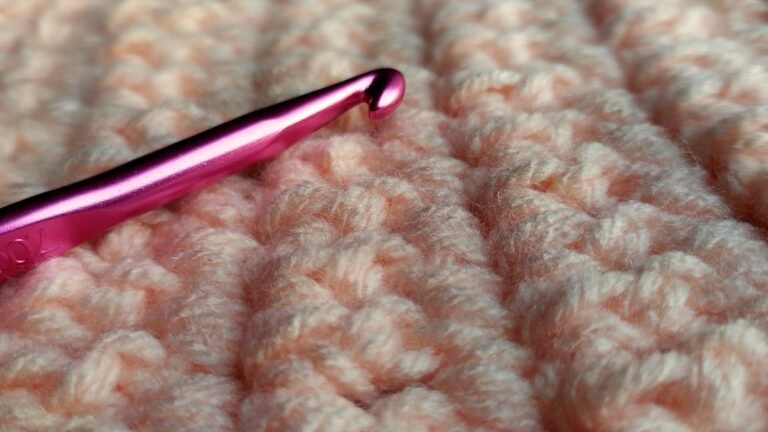
With ribbed fabric, follow the ridges so the hidden yarn does not flatten the texture. Our guide to crochet ribbing can help you identify the stitch structure.
Granny Squares
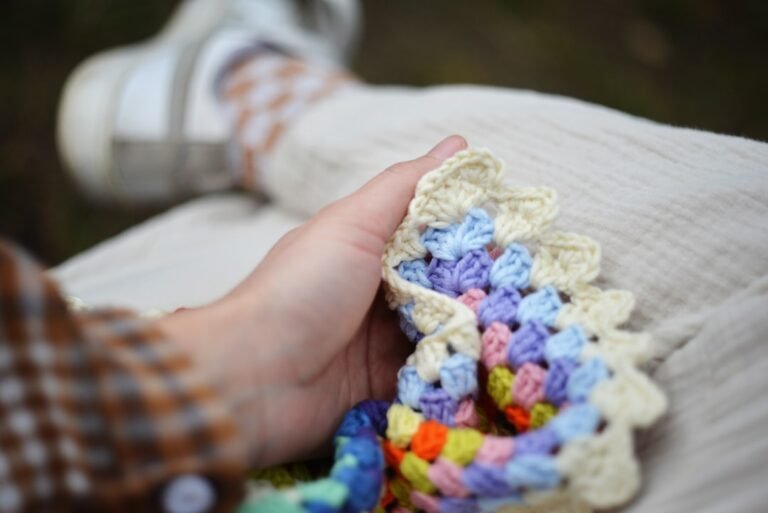
For granny squares, weave tails through the denser cluster sections rather than across chain spaces. If you are practicing motifs, see our beginner granny square pattern.
What About Color Changes?
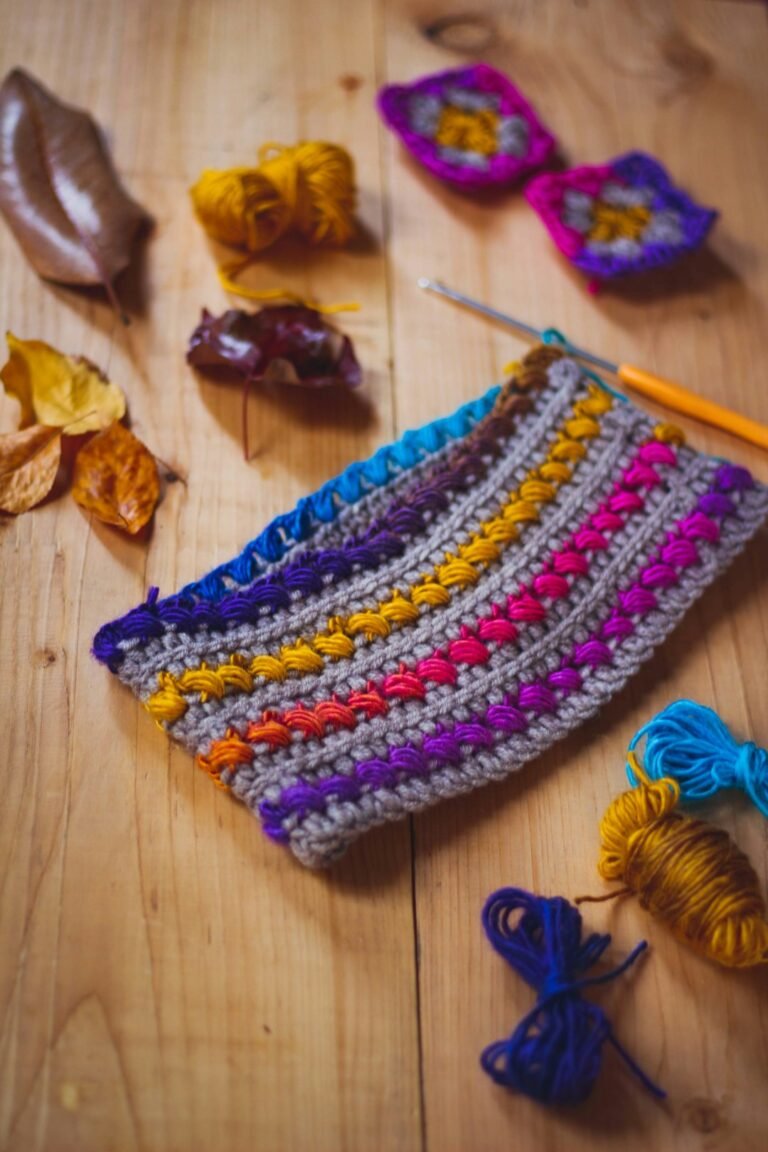
Color changes can create many extra ends, especially in striped projects. Secure each color tail into stitches of the same color whenever possible so it stays invisible from the front. For cleaner transitions, review our tutorial on how to change colors in crochet.
Common Mistakes to Avoid
- Trimming too early: always weave first, trim last.
- Using a tail that is too short: it is difficult to make enough passes.
- Pulling too tightly: this can pucker the fabric.
- Weaving in only one straight direction: the tail may slide back out more easily.
- Crossing open holes: the tail can become visible from the front.
Should You Tie Knots?
For many standard crochet projects, careful weaving is enough and avoids bulky knots. Some crafters use a small secure knot for slippery yarns or high-stress joins, but it should be placed where it will not be uncomfortable or visible. Always consider the fiber, project type, and washing method.
Weaving in Ends Before or After Blocking?
In most cases, weave in the ends before blocking but leave a tiny bit of tail until the fabric is fully dry and settled. This lets the stitches move naturally during blocking without pulling the woven tail too tightly.
Tips for Slippery or Smooth Yarn
Silky, mercerized, or very smooth yarns can work loose more easily. Use longer tails, make extra direction changes, and keep the woven path inside dense stitches. Avoid depending on a single short pass.
Frequently Asked Questions
How long should yarn tails be?
About 6 inches is usually enough for standard yarn. Leave more for bulky or slippery fibers.
Can I use my crochet hook instead of a needle?
You can pull a tail through a few loops with a hook, but a yarn needle usually gives more control and makes it easier to travel securely in several directions.
Do I weave in ends as I go?
You can. Weaving periodically keeps a large project from ending with dozens of tails. Just be sure you are confident the section will not need to be unraveled later.
Weave in the Direction the Fabric Can Hide
Follow the path of nearby stitches instead of pulling a yarn tail straight across an open area. Change direction once or twice so normal stretching is less likely to pull the tail back out. In dense crochet, the tail can travel through the backs of several stitches; in open lace, use shorter paths that stay inside solid stitch sections.
Do a Gentle Stretch Test Before Trimming
After weaving the tail, stretch the fabric in the way the finished item will be used, then check whether the end has moved. Only trim the excess after the fabric relaxes again. This small test is especially useful for cuffs, hats, and other projects that are stretched repeatedly.
Test the End Before You Trim It
Good finishing takes only a few extra minutes and makes a big difference in how professional your crochet looks and how well it lasts. With practice, weaving in ends becomes a quick routine: follow the stitches, change direction, keep the fabric relaxed, and trim only when the tail is secure.
Featured photo by Raelle Cameron on Unsplash.