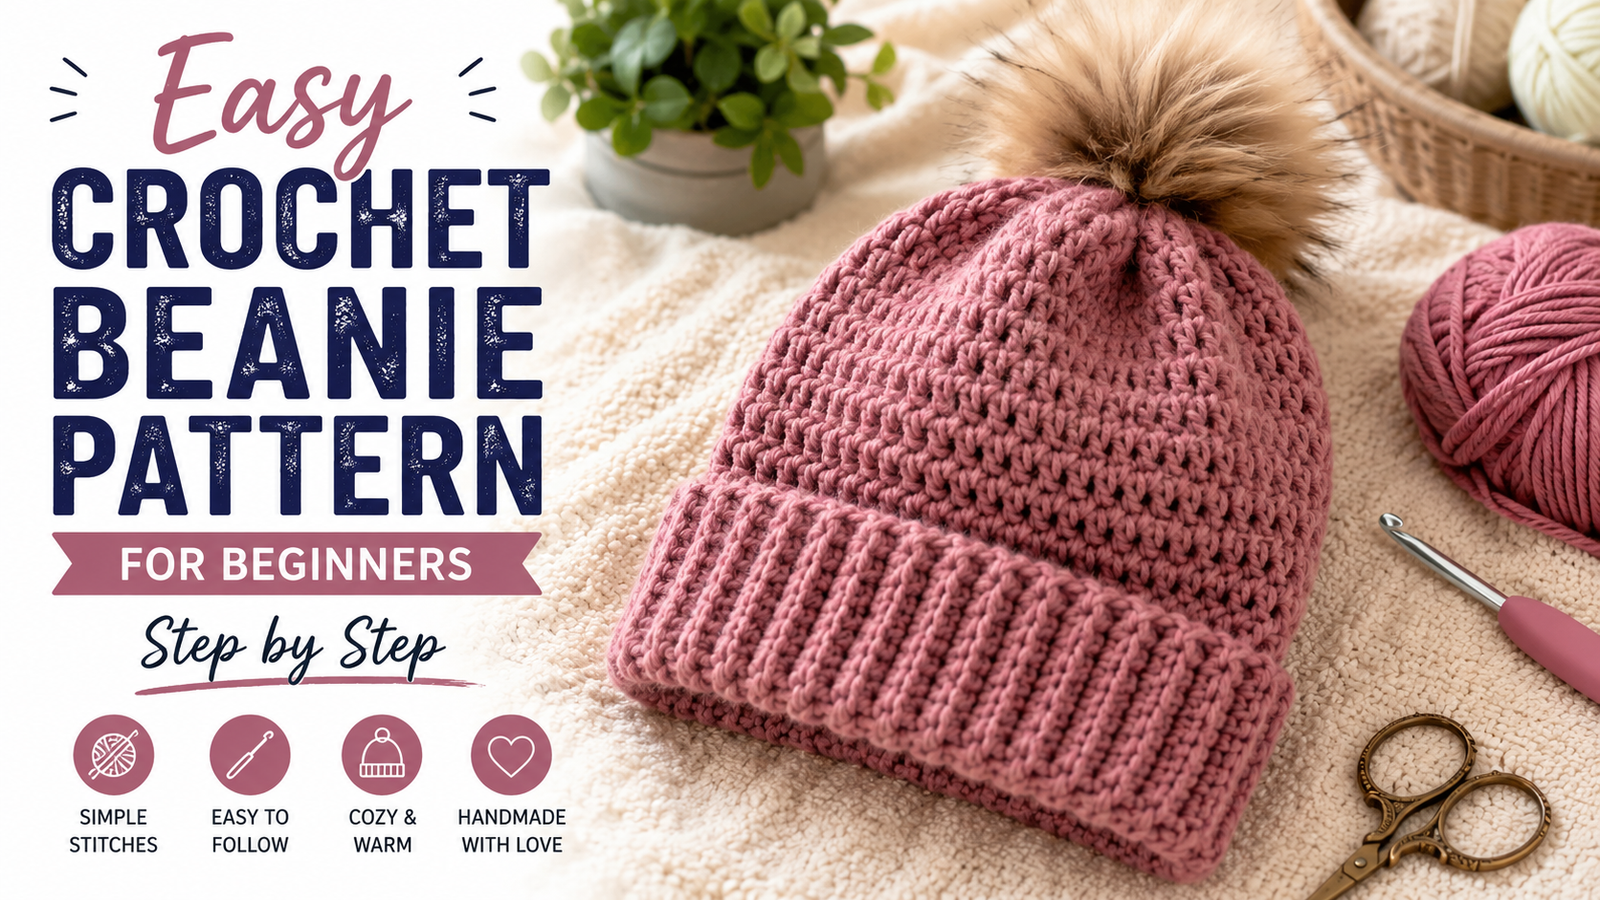
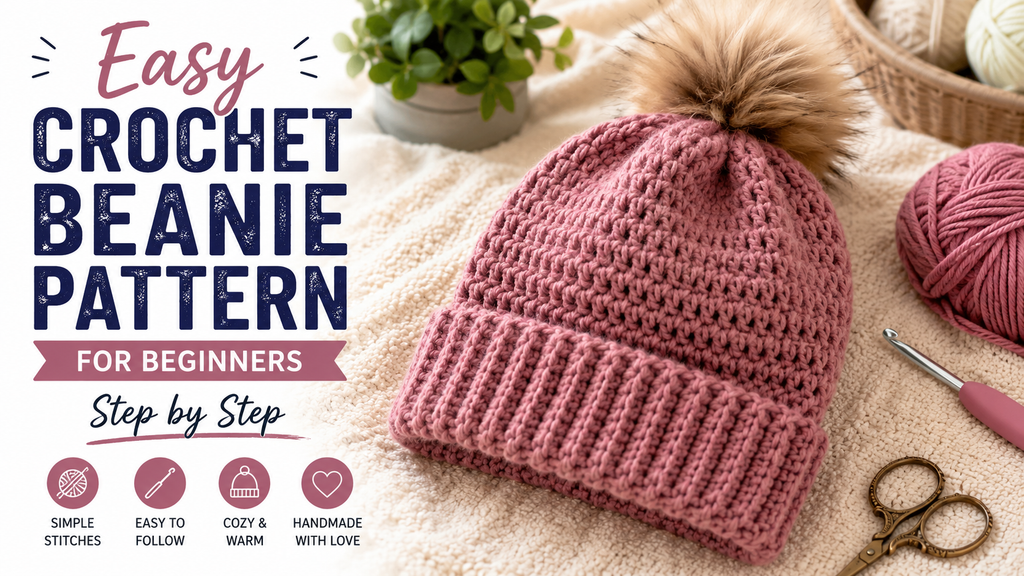
How to Crochet a Beanie for Beginners – Step by Step
Looking for a simple crochet beanie tutorial for your next project? This beginner-friendly beanie is made from a basic crocheted rectangle, so you don’t need complicated shaping or advanced techniques.
Using simple stitches and medium-weight yarn, you can create a cozy handmade hat while practicing your crochet skills. Follow these easy steps to make your first crochet beanie.
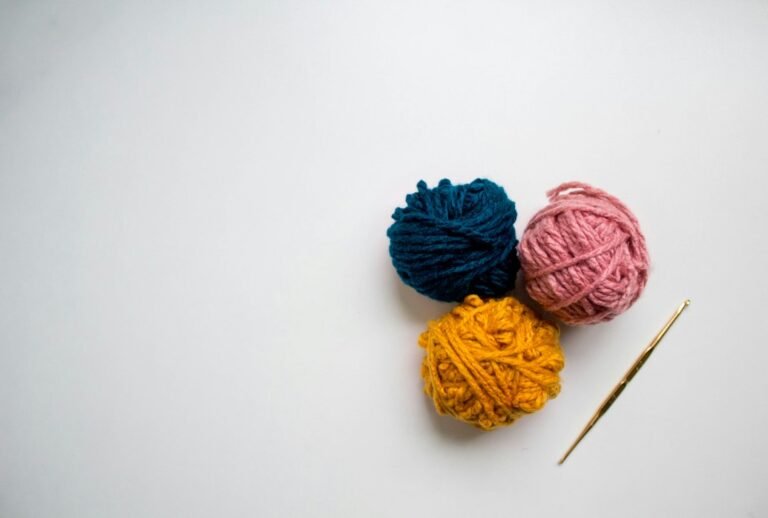
What You’ll Need
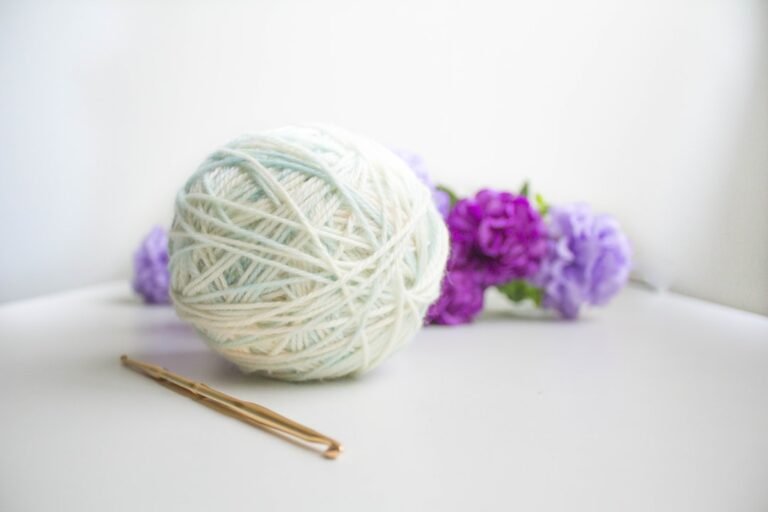
Before starting this crochet beanie tutorial, gather:
- Medium-weight yarn (worsted weight / #4)
- 5 mm crochet hook
- Scissors
- Yarn needle
- Measuring tape
- Stitch markers, optional
Check your yarn label for the recommended hook size. You can adjust the hook if needed to achieve a comfortable fabric.
How to Crochet a Beanie Step by Step
Step 1: Measure for Your Beanie
Measure around the widest part of the head where the beanie will sit.
Because yarn, stitch tension, and head sizes vary, using measurements is more reliable than relying on a fixed number of stitches.
For this simple rectangle-style beanie, the length of your starting chain will determine the height of the hat.
Step 2: Make the Starting Chain
Make a slip knot and place it on your crochet hook.
Chain until the foundation is approximately as tall as you want the finished beanie, remembering that you may want enough length for a folded brim.
Keep the chains relaxed and consistent. A foundation chain that is too tight can make the edge of your project uneven.
Step 3: Crochet the First Row
For a simple version, work with single crochet.
Insert your hook into the second chain from the hook. Yarn over and pull up a loop. Yarn over again and pull through both loops.
Continue making one single crochet in each chain across the row.
Step 4: Continue Crocheting the Rectangle
Chain 1 and turn your work.
Work one single crochet into each stitch across. Continue repeating rows until the rectangle is long enough to wrap comfortably around the head.
For a more textured, stretchy fabric, you can work the single crochet stitches through the back loop only after the first row. This creates a ribbed appearance that works especially well for beanies.
Periodically wrap the rectangle gently around the head or compare it with your measurements to check the fit.
Step 5: Join the Short Edges
Once the rectangle reaches the desired size, bring the two short edges together.
Use slip stitches or your yarn needle to join them securely, creating a tube.
Make sure the seam is neat and not excessively tight so the hat can still stretch comfortably.
Step 6: Close the Top
Cut a long yarn tail and thread it through your yarn needle.
Weave the yarn in and out around the stitches along one open edge of the tube. Pull the yarn carefully to gather the opening.
Once the top is closed, secure the yarn firmly and weave in the remaining tail.
Turn the beanie right side out if necessary.
Step 7: Finish Your Beanie
Weave in any remaining loose ends with your yarn needle.
Try on your beanie and fold the bottom edge upward if you want a cuffed look.
Your beginner crochet beanie tutorial is complete!
Tips for Beginners
Keep your stitches relaxed and consistent. Very tight stitches can make the beanie stiff and reduce its stretch.
Count your stitches occasionally to make sure you aren’t accidentally adding or losing stitches at the ends of your rows.
If you’re making the beanie as a gift and don’t have the recipient available for measurements, consult a reliable crochet sizing chart and remember that finished sizing can vary with yarn, stitch pattern, and tension.
How to Customize Your Crochet Beanie
Once you understand the basic construction, there are many ways to personalize your beanie.
Try using two or more yarn colors to create stripes. You can also experiment with different stitch textures once you’re comfortable with the basic pattern.
A folded brim can give the hat a classic look, while a contrasting edge can add extra detail.
You can also attach a handmade yarn pom-pom to the top after the hat is completely assembled.
Common Crochet Beanie Mistakes to Avoid
One common beginner mistake is making the starting chain too tight. This can cause one edge of the rectangle to be shorter or less stretchy than the other.
Another mistake is accidentally skipping the first or last stitch of a row. Count your stitches regularly to keep the rectangle straight.
Also avoid making the hat too loose. Crochet fabric can stretch, so check the fit periodically instead of waiting until the entire rectangle is finished.
Choosing Yarn for a Crochet Beanie
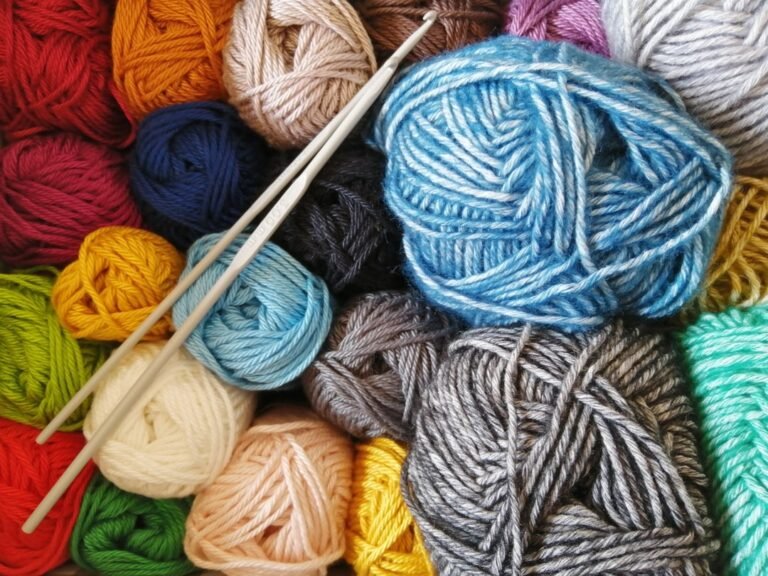
Medium-weight yarn is a convenient choice for a first beanie because it’s generally easy to handle and allows beginners to see their stitches clearly.
When choosing yarn, consider softness as well as appearance because the finished project will be worn against the head.
Always follow the care instructions printed on your yarn label when washing the finished beanie.
For information about standard yarn weights and crochet terminology, you can consult the Craft Yarn Council yarn standards.
What Can You Crochet Next?
After completing your first beanie, you can use the skills you’ve practiced to make other beginner projects.
If you want another wearable project, try our How to Crochet a Scarf for Beginners – Step by Step.
You can make the scarf and beanie in matching yarn colors to create a simple handmade set.
Ready to Crochet Your First Beanie?
This crochet beanie tutorial gives beginners a simple way to make a wearable project without complicated shaping.
Start with a basic rectangle, practice keeping your stitches consistent, and customize your finished hat with different colors, a folded brim, or a pom-pom.
One Comment
Comments are closed.