How to Crochet a Simple Border for Beginners
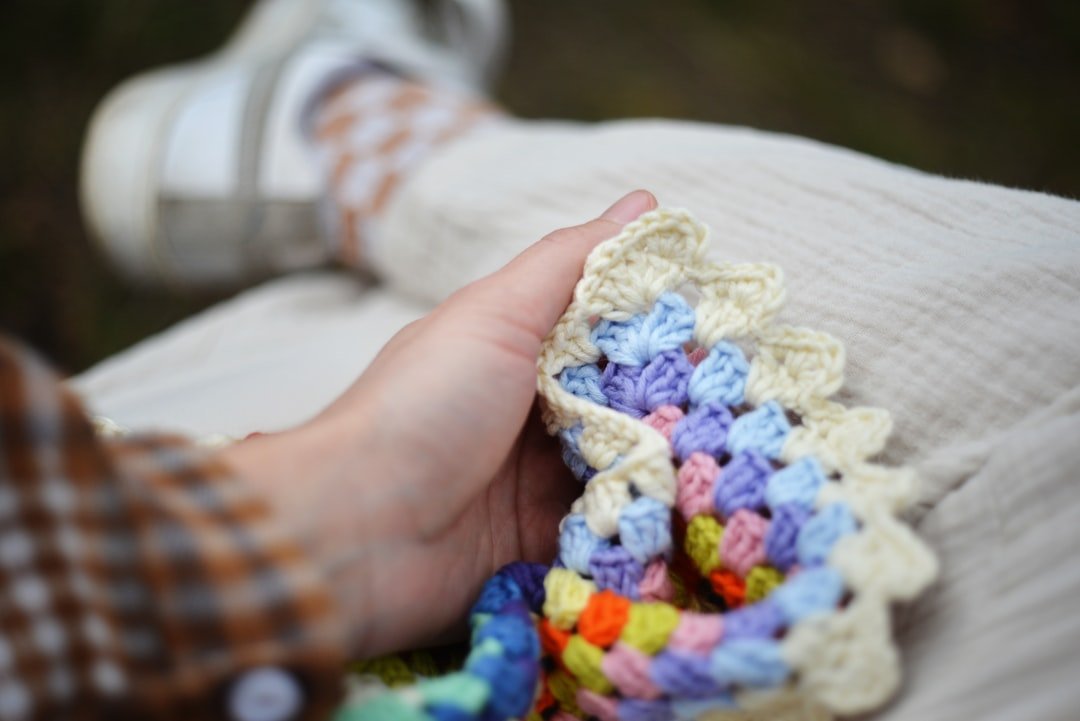
Learning how to crochet a simple border is one of the easiest ways to give a blanket, dishcloth, scarf, or other project a cleaner finished edge. A basic single crochet border can also help even out slightly irregular sides before you add a more decorative edging later.
Simple Crochet Border at a Glance
- Skill level: Beginner
- Main stitch: Single crochet
- Worked: Around the outside edge
- Best for: Blankets, dishcloths, scarves, squares, and flat crochet pieces
- Terminology: US crochet terms
If you need a refresher on basic stitches, visit our how to crochet for beginners guide. You can also review our guide to reading crochet patterns.
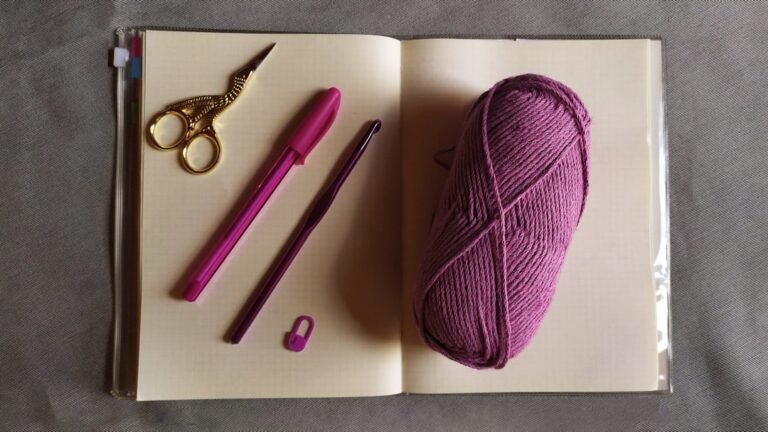
Materials
- Your finished crochet project
- Matching or contrasting yarn
- A crochet hook suitable for the yarn
- Scissors
- Yarn needle
- Stitch markers, optional
Using the same yarn and hook as the main project is often the simplest starting point. If you use a different yarn, check that the thickness is reasonably compatible with the fabric so the border does not overpower or distort the edge.
Abbreviations
- ch – chain
- sc – single crochet
- sl st – slip stitch
- st(s) – stitch(es)
For a reference to standard US abbreviations, see the Craft Yarn Council crochet abbreviations.
How to Crochet a Simple Border
Step 1: Choose a starting point
For a rectangular or square piece, begin near a corner or along a straight edge. Insert your hook into a suitable edge stitch or space and join the border yarn with a slip stitch.
Step 2: Chain 1
Chain 1 to bring the yarn up to the height of a single crochet. Unless your pattern says otherwise, do not count this turning chain as a stitch.
Step 3: Single crochet across the first edge
Work one single crochet into each stitch across a normal top or bottom edge. On side edges, where you are working into row ends rather than regular stitches, space the single crochet stitches evenly rather than trying to force one stitch into every visible gap.
The goal is a flat edge. If the border begins to ripple, you may have too many stitches. If the edge pulls inward, you may need slightly more spacing.
Step 4: Work the corner
When you reach a corner, work additional stitches into the corner space so the border can turn without pulling. A common starting point is 3 single crochet stitches in the corner. Depending on the project and tension, you may prefer 2 or 3 stitches. The fabric should lie flat without bunching.
Step 5: Continue around
Repeat the same process along each side: even single crochet stitches along straight sections and extra stitches in each corner. Keep checking the fabric as you work.
Step 6: Join the round
When you return to the beginning, join to the first single crochet with a slip stitch. Fasten off if you only want one border round, or continue with another round if you want a thicker edge.
How Many Stitches Should Go Along the Side?
There is no single universal number because row height changes with stitch type, yarn, hook size, and personal tension. Instead of using a fixed formula, distribute the stitches so the edge stays flat.
For a project made mostly with single crochet, side spacing is usually fairly compact. Taller stitches create longer row ends, so the spacing may differ. Work a short section, lay the fabric flat, and adjust if you see rippling or pulling.
How to Keep Corners Flat
Corners need enough room to turn. If the corner cups inward, add a little more space or another stitch. If it flares outward, reduce the number of corner stitches. This is especially important when adding several rounds because small spacing problems can become more noticeable with each round.
Adding a Second Border Round
After a foundation round of single crochet, you can work another round in single crochet for a clean, sturdy edge. You can also use the first round as a base for a decorative border later.
A smooth foundation border is useful because it gives you consistent stitches to work into, especially when the original project has uneven side edges.
Choosing a Border Color
A matching color creates a subtle finish, while a contrasting color makes the border more noticeable. If the project already uses several colors, choosing one existing color can help the border feel connected to the rest of the piece.
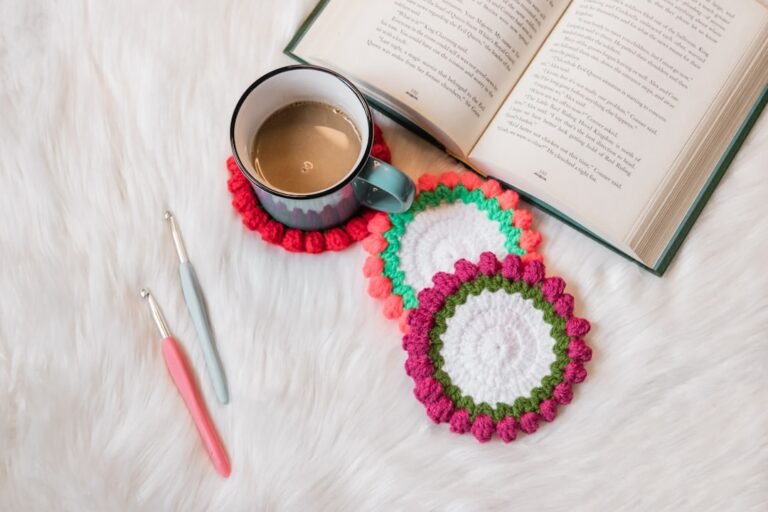
You can practice this technique on a smaller project first, such as our easy crochet dishcloth pattern or one of our easy crochet coasters.
Troubleshooting
The border is wavy
Too many stitches are often the cause. Remove a section and space the stitches slightly farther apart, especially along side edges.
The border pulls the project inward
You may have too few stitches or your tension may be tighter than the main fabric. Try adding a little more spacing or using a slightly larger hook.
The corners curl
Make sure there are enough stitches in each corner to turn comfortably. Compare all corners so they are worked consistently.
The side edge looks uneven
Side edges can be less obvious than top and bottom edges because you are working into row ends. Place stitches at visually even intervals and use stitch markers if needed.
Final Thoughts
Once you know how to crochet a simple border, you can use the technique on many projects without changing the main pattern. Start with one single crochet round, focus on even spacing, and let the shape of the fabric tell you whether you need more or fewer stitches. For more beginner-friendly inspiration, explore our easy crochet ideas for beginners.