How to Crochet Ribbing for Beginners
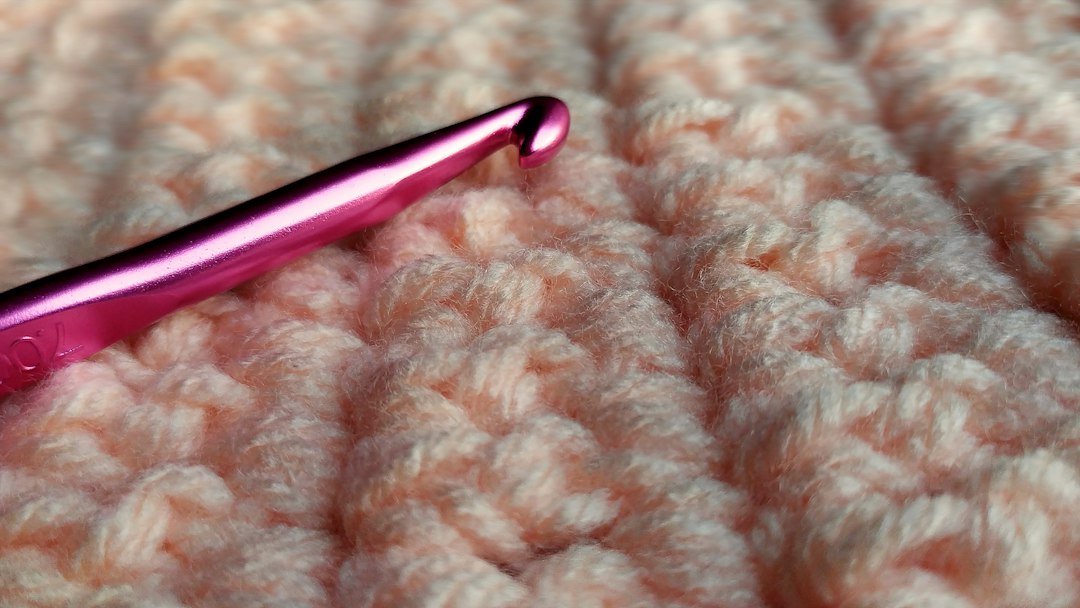
Crochet ribbing adds stretch and texture to hats, cuffs, sweater edges, ear warmers, and many other projects. The most beginner-friendly method is to work regular crochet stitches through the back loop only. This creates raised horizontal ridges that can look surprisingly similar to knitted ribbing.
In this guide, you will learn three easy ribbing methods and when to use each one.
What Is Crochet Ribbing?
Ribbing is a textured fabric made from repeating raised and recessed lines. In crochet, one of the easiest ways to create it is by inserting the hook into only one loop of each stitch instead of both loops.
When you work in the back loop only (BLO), the unused front loop stays visible and forms a ridge across the fabric.
Before You Start
You should be comfortable making a chain and at least one basic stitch. If you are brand new, start with our chain stitch tutorial and single crochet guide.
Method 1: Half Double Crochet Ribbing
Half double crochet ribbing is soft, stretchy, and fast to make. It works especially well for ear warmers, beanies, and cuffs.
- Chain any number of stitches for the desired height of the ribbed section.
- Half double crochet in the second chain from the hook and across.
- Chain 1 and turn.
- Work one half double crochet in the back loop only of every stitch.
- Repeat the previous row until the ribbing reaches the length you need.
If you want a more detailed review of the stitch itself, see how to half double crochet.
Method 2: Single Crochet Ribbing
Single crochet BLO ribbing is a little firmer and denser than half double crochet ribbing. It is useful when you want a structured band that still has some stretch.
- Chain the number of stitches needed for the ribbing height.
- Single crochet across the foundation chain.
- Chain 1 and turn.
- Single crochet in the back loop only of each stitch.
- Repeat until the strip reaches the correct length.
This method makes neat, defined ridges and is easy to control for beginners.
Method 3: Slip Stitch Ribbing
Slip stitch ribbing is very stretchy and has a strong knitted appearance, but it grows more slowly because slip stitches are short.
- Chain the desired height.
- Slip stitch across the chain without pulling the stitches too tightly.
- Chain 1 and turn.
- Slip stitch in the back loop only across.
- Repeat for the required length.
If your slip stitches become difficult to work into, loosen your tension or try a hook one size larger. Our slip stitch tutorial can help you practice the motion.
Which Crochet Ribbing Method Is Best?
- Half double crochet BLO: fast, soft, and stretchy.
- Single crochet BLO: neat, firm, and beginner-friendly.
- Slip stitch BLO: very stretchy with a knitted look, but slower to make.
There is no single best method for every project. For a quick hat brim or ear warmer, half double crochet is often the easiest choice. For a firm cuff, single crochet works well. For maximum stretch, try slip stitch ribbing.
How to Keep Ribbing Even
Ribbing looks best when the rows stay consistent. Count your stitches often, especially if the first and last stitches are easy to miss. Keep your turning chain loose enough that the edge does not pull inward.
It also helps to use the same hook position each time. Before inserting the hook, look at the top of the stitch and identify the two loops. The back loop is the loop farther away from you.
How to Join a Ribbed Band
If you are making a circular band for a hat or headband, crochet the ribbing as a flat rectangle first. When it reaches the correct length, bring the short ends together and seam them with a yarn needle or slip stitches.
For hats, you can then turn the ribbing so the long edge faces upward and crochet the body of the hat directly around that edge.
Common Mistakes
- Working through both loops: this removes most of the ribbed effect.
- Very tight tension: the fabric becomes stiff and loses stretch.
- Missing edge stitches: the strip slowly becomes narrower.
- Making the band too long: remember that ribbing stretches when worn.
Practice Project
A small ear warmer is one of the easiest ways to practice ribbing because it is simply a rectangle joined at the ends. Try our easy crochet ear warmer pattern after practicing a few rows.
Choosing a Ribbing Method
Back-loop single crochet creates a firm, defined rib and works well for cuffs or edges that need structure. Back-loop half double crochet is softer and faster, making it useful for headbands and hat brims. Slip-stitch ribbing is very stretchy and polished but takes longer because the stitches are short.
Gauge Matters More in Ribbing
Ribbing is designed to stretch, so measure it both relaxed and gently stretched. If a cuff is meant to fit a wrist or head, a swatch helps you estimate how much negative ease feels comfortable. Do not stretch the fabric to its absolute limit when measuring.
Keeping the Ridges Straight
Count stitches regularly and identify the first and last stitch before you begin each row. Missing an edge stitch makes the ribbing gradually narrow; adding one makes it widen. A stitch marker at each edge can make this much easier for beginners.
Ribbing Direction Changes the Stretch
Back-loop-only ribbing stretches most noticeably across the ridges. For cuffs and hat bands, that usually means working a narrow strip in rows and joining its short ends so the stretch wraps around the body. If you rotate the ribbing ninety degrees, the fabric may look similar but behave differently when worn.
Compare the Ribbing After It Relaxes
Stretch a small swatch several times and let it rest before measuring it. Some yarns spring back strongly while others remain longer after stretching. This recovery matters for cuffs, headbands, and hems where the ribbing needs to return toward its original size.
Test Ribbing for Stretch and Recovery
Learning crochet ribbing gives you a simple technique that can be reused in many projects. Start with half double crochet in the back loop only, then compare it with single crochet and slip stitch ribbing to see which texture you prefer.
Featured photo by Karina L via Unsplash.