Easy Crochet Wrist Warmers Pattern for Beginners
This easy crochet wrist warmers pattern uses a simple rectangle construction, making it a practical project for beginners who are comfortable working basic rows. Instead of relying on one fixed stitch count, the size is adjusted by measuring the fabric around your hand and wrist.
Materials
- Medium-weight yarn
- Crochet hook that matches your yarn label; around 5 mm is a useful starting point for many medium yarns
- Scissors
- Yarn needle
- Measuring tape
- Optional stitch markers
If you are still choosing yarn, see our beginner yarn guide. You can also review standard US crochet abbreviations from the Craft Yarn Council.
Best Stitch for Beginner Wrist Warmers
Single crochet makes a dense, warm fabric and is easy to count. Half double crochet grows faster and feels a little more flexible. Either stitch works well for this rectangle-style construction. If you need a refresher, see our single crochet and half double crochet tutorials.
Easy Crochet Wrist Warmers Pattern
- Make the starting chain. Chain enough stitches to create the height you want from the lower wrist toward the base of the fingers. A height around 7 to 8 inches is a useful starting idea, but measure against your own hand.
- Work the first row. Crochet across the chain using single crochet or half double crochet.
- Continue in rows. Turn at the end of each row and keep the stitch count consistent.
- Check the width. Continue until the rectangle wraps comfortably around your hand without stretching too tightly.
- Make a matching second rectangle. Use the first piece as your guide so both warmers are the same size.
- Mark the thumb opening. Fold one rectangle around the hand. Mark where the thumb needs space.
- Seam the side. Sew the long edges together from the wrist to the first marker. Leave the thumb section open, then continue seaming above the opening toward the fingers.
- Finish. Weave in all yarn tails and repeat for the second warmer.
How to Size Wrist Warmers
Yarn stretch, hook size, and stitch choice can change the finished fit, so measuring the actual fabric is more reliable than using a universal row count. Wrap the rectangle around the widest part of the hand where the warmer will sit. The edges should meet comfortably without forcing the fabric to stretch.
How Large Should the Thumb Opening Be?
The opening only needs to be large enough for the thumb to move comfortably. Pin or mark the seam before sewing permanently, then try the warmer on. If the opening feels tight, extend it by leaving one or two additional rows unseamed.
Easy Variations
Ribbed wrist warmers
Work single crochet or half double crochet through the back loop only to create vertical-looking ridges when the rectangle is turned and seamed.
Longer cuffs
Add more chains at the beginning so the fabric extends farther down the wrist.
Striped wrist warmers
Change colors every few rows. Our crochet color-change guide explains how to switch yarn cleanly.
Common Beginner Problems
The two wrist warmers are different sizes
Count the rows in the first rectangle and repeat the same number for the second, while also comparing the pieces side by side.
The seam feels bulky
Use a yarn needle and a simple mattress-style or whip stitch seam rather than adding a thick row of crochet through both layers.
The fabric is too stiff
Your tension may be tight. Relax your grip or move to a slightly larger hook that still works with the yarn.
More Beginner Crochet Projects
Try the crochet headband, beginner beanie, or crochet scarf for more cold-weather practice.
How to Size Wrist Warmers
Measure around the widest part of the hand and around the wrist. The fabric should stretch enough to pass over the hand while still sitting comfortably at the wrist. Make a small swatch and test its stretch before deciding how wide to crochet the rectangle.
Planning the Thumb Opening
Before seaming, pin the rectangle around the hand and mark where the thumb naturally sits. Leave that section unsewn, then test the opening before fastening off. The opening should be large enough to move comfortably without creating a loose gap.
Making a Matching Pair
Count rows rather than relying only on visual length. Use the same hook, yarn, tension, and seam method for both warmers. If one piece is finished before the other, record the final row count and thumb-opening placement so the second piece matches.
Place the Thumb Opening Before You Seam
Wrap the unfinished rectangle around the hand before joining it. Mark where the thumb naturally sits, then leave that section of the seam open. The opening should be large enough for comfortable movement but not so long that the warmer twists around the wrist. Checking the fit on the actual hand is more reliable than copying one fixed opening length.
Check Stretch in Both Directions
Some crochet fabrics stretch more across the rows than along them. Before deciding which edges to seam, gently pull the swatch in both directions and choose the orientation that gives the wrist enough flexibility. If you change yarn or hook size, repeat this check because the fabric can behave very differently.
A Better Fit Check for Wrist Warmers
Rectangle-style wrist warmers are a flexible beginner project because the fit can be checked as you work. Focus on consistent rows, measure before seaming, and adjust the thumb opening before weaving in the final ends.
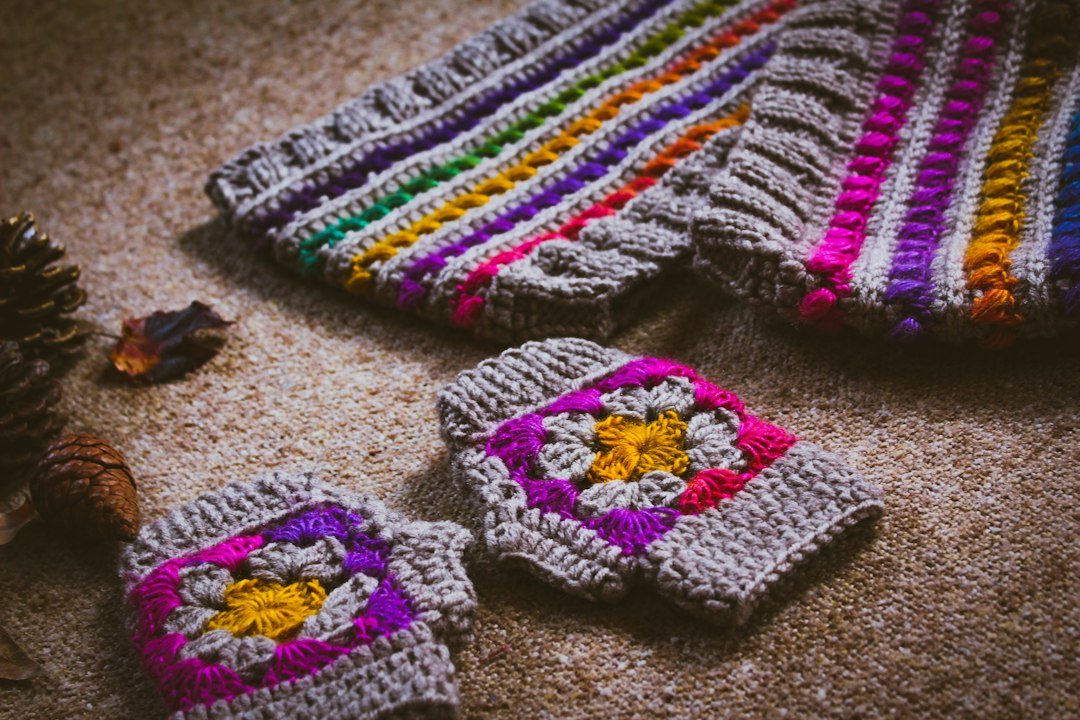
Photo: Nasim Keshmiri via Unsplash.