How to Change Colors in Crochet – Beginner Guide
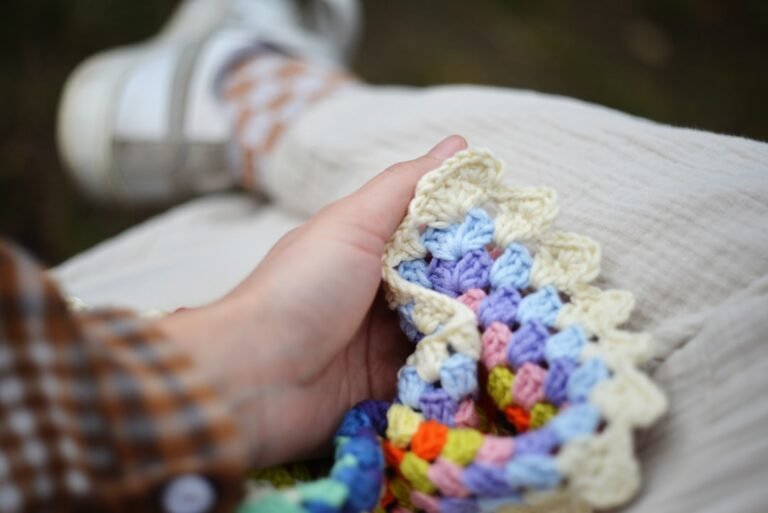
Learning how to change colors in crochet opens the door to stripes, color blocks, borders, and simple motifs. The cleanest basic method is to introduce the new color during the final step of the stitch before the color change.
The Basic Color-Change Method
Work the last stitch in the old color until only the final yarn-over and pull-through remain. Drop the old yarn, yarn over with the new color, and use the new color to complete that final step. Continue crocheting with the new yarn.
Changing Colors in Single Crochet
- Insert the hook into the next stitch.
- Yarn over with the old color and pull up a loop.
- Drop the old color.
- Yarn over with the new color.
- Pull the new color through both loops on the hook.
- Continue the next stitch with the new color.
If single crochet is still new, see our single crochet tutorial.
Changing Colors in Double Crochet
Work the double crochet until two loops remain on the hook. Use the new color for the final yarn over and pull-through. The next stitch then begins fully in the new color.
Changing Colors at the End of a Row
Complete the last stitch of the row with the new color during its final pull-through, then make the turning chain in the new color. Turn and continue normally.
Changing Colors in the Round
If your pattern joins rounds, switch to the new color during the last stitch before the join or during the joining step as directed. If working in a spiral, place the color change where you want it and mark the round so you can find the transition easily.
What to Do With Yarn Tails
Leave several inches of tail when introducing a new color. Weave the tails securely through the back of nearby stitches after the work is finished. For short stripes, some patterns allow you to carry an unused color up the side instead of cutting it every row.
Keep the Tension Even
Do not pull the new color too tightly when making the first stitch. Tight color changes can pinch the fabric. After several stitches, gently adjust the tails if needed, but avoid pulling so hard that the stitch shape changes.
Easy Ways to Practice
Try two-color stripes on a small swatch, a dishcloth, or a bookmark. Once the transition looks neat, try changing colors more frequently.
Common Problems
A visible bump at the change
Make sure the new color completes the final step of the previous stitch rather than starting only after that stitch is finished.
Loose loops at the back
Keep unused yarn controlled, but do not pull it so tightly that the fabric puckers.
Too many ends
Plan stripes so you can carry a color along an edge when appropriate, or use fewer, wider stripes.
Reference for Abbreviations
Standard US crochet abbreviations are available from the Craft Yarn Council.
How to Change Colors in Crochet FAQs
When should I introduce the new color?
For a clean basic change, use the new yarn to complete the final pull-through of the stitch immediately before the color change. That positions the new color on the hook before the next stitch begins and usually creates a cleaner transition than finishing the old stitch completely first.
Do I need to cut the yarn after every stripe?
Not always. If the old color will be used again only a short distance away, some patterns let you carry it neatly along an edge. For wide stripes or colors that will not return soon, cutting and weaving the tail is usually simpler. Avoid carrying yarn so tightly that the fabric puckers.
How long should the yarn tail be?
Leave enough yarn to weave securely through several nearby stitches after the project is finished. A short tail can be difficult to secure, while an extremely long tail wastes yarn. Several inches is generally easier to handle, but the exact amount can vary with the yarn thickness and project.
Final Thoughts
The key to clean color changes is simple: use the new yarn to complete the last step of the stitch before the change. Practice on a small swatch first, then apply the method to stripes and larger projects.
Photo: Margarida Afonso via Unsplash.