How to Crochet in the Round for Beginners
Learning how to crochet in the round lets you make circles, baskets, hats, coasters, flowers, and many other projects without working back and forth in straight rows. Beginners usually start with either joined rounds or a continuous spiral.
What Does Crochet in the Round Mean?
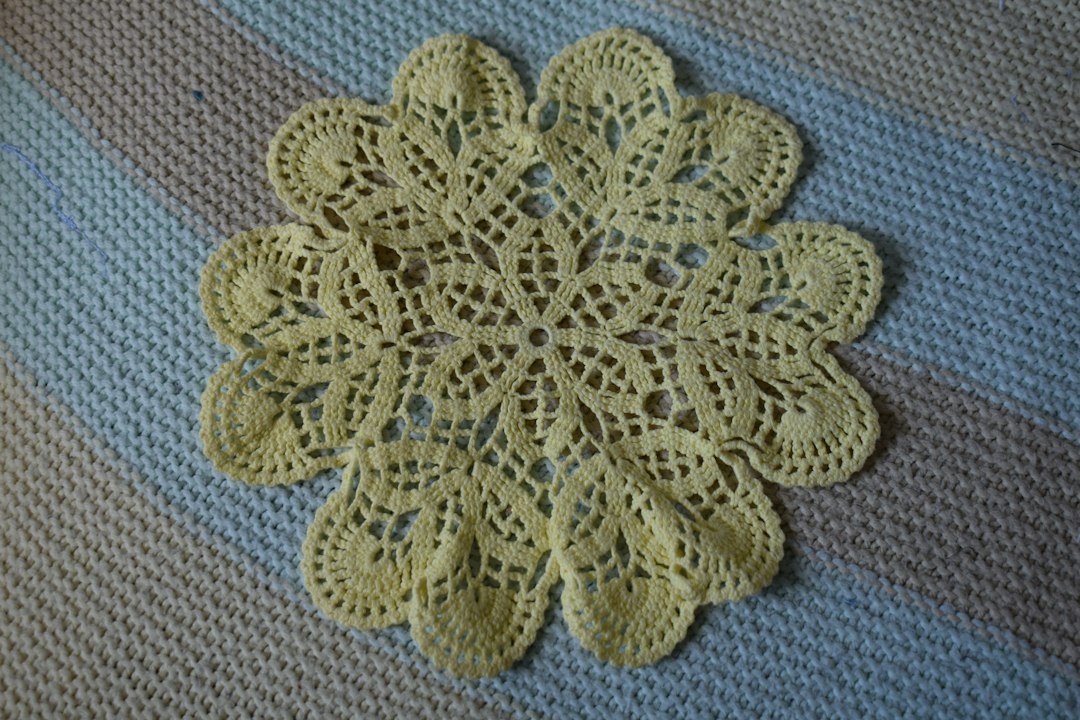
Instead of turning the work at the end of every row, you build stitches around a center point. Each new round expands around the previous one. Some patterns join the end of each round with a slip stitch, while others continue in a spiral without joining.
Standard US crochet abbreviations are listed by the Craft Yarn Council.
Two Ways to Start
Chain ring
Chain a small number of stitches, join the first and last chain with a slip stitch, then work the first round into the center of the ring. This method is straightforward for beginners.
Adjustable or magic ring
An adjustable ring allows the center hole to be pulled smaller after the first round. It is useful when you want a tighter center, but it takes a little more hand control than a chain ring.
Joined Rounds vs. Continuous Rounds
Joined rounds end with a slip stitch into the beginning of the round. You may then chain to reach the height of the next round. This creates a visible joining point but makes round boundaries easy to identify.
Continuous rounds move directly into the next round without a join. Use a stitch marker in the first stitch of every round so you do not lose your starting point.
Simple Single Crochet Circle Practice
This small practice circle shows the basic idea of evenly spaced increases. Use single crochet in US terminology.
- Round 1: Make an adjustable ring or small chain ring and work 6 single crochet stitches into the center.
- Round 2: Work 2 single crochet stitches into each stitch around. You now have 12 stitches.
- Round 3: Repeat 1 single crochet in the next stitch, then 2 single crochet in the following stitch, around. You now have 18 stitches.
- Round 4: Repeat 1 single crochet in each of the next 2 stitches, then 2 single crochet in the next stitch, around. You now have 24 stitches.
This increase pattern is a common starting structure for a flat single-crochet circle, but yarn, hook size, and tension can affect how flat the fabric lies. Adjust when necessary rather than forcing a formula that makes the fabric ripple or cup.
How to Use a Stitch Marker
Place a removable marker in the first stitch of the round. When you return to the marker, you have completed one full round. Move the marker into the first stitch of the new round. This is especially important when working in a spiral.
How to Join a Round
If the pattern uses joined rounds, work the final stitch of the round, then slip stitch into the stitch or chain specified by the pattern. Our slip stitch guide explains the motion in detail.
Why a Crochet Circle Cups
If the center begins curling into a bowl shape, the round may not have enough increases for your tension and yarn. Check the stitch count first. If the count is correct, your tension may simply require slightly more spacing between increases.
Why a Crochet Circle Ripples
Rippling usually means too many stitches are being added for the available space. Check whether an increase was accidentally repeated and make sure you are not crocheting twice into unmarked stitches.
Projects That Use Crochet in the Round
Once the technique feels comfortable, practice with our crochet basket, crochet flower, or crochet pumpkin.
Skills to Review First
If you are completely new to crochet, review chain stitch, single crochet, and how to read a crochet pattern.
Joined Rounds vs. Continuous Spirals
Joined rounds end each round with a slip stitch and usually begin the next with a chain. This makes round boundaries easy to count but can create a visible seam. Continuous spirals keep crocheting without joining, producing a smoother look, but a stitch marker is essential because the round boundary is otherwise easy to lose.
Understanding Basic Increase Math
For a flat circle made with evenly spaced increases, each round usually adds the same number of stitches as the starting round. For example, if you begin with 6 stitches, a typical progression is 6, 12, 18, 24, and so on. Different stitch heights may need different starting counts to lie flat.
Diagnosing a Circle That Will Not Lie Flat
If the circle cups upward, it may need more increases. If the edge ripples heavily, it may have too many. Yarn, hook size, and tension also affect the shape, so make small adjustments rather than assuming every formula will behave identically.
Choose Joined or Continuous Rounds on Purpose
Continuous rounds create a spiral with no visible join, which is useful for amigurumi and some baskets. Joined rounds end with a slip stitch and usually begin with a turning or starting chain, which can keep color changes or stitch patterns aligned. Decide which method the project expects before you begin, because switching between them halfway through changes where the round starts and can affect the stitch count.
Spread Increases Instead of Stacking Them
When a flat circle starts to look polygonal, move the increase points slightly from one round to the next rather than placing every increase directly above the previous one. If the circle cups upward, it may need more increases; if it ripples, it may have too many. Use a stitch marker at the first stitch so you can diagnose shape changes without losing the round boundary.
How to Keep Your Next Round Even
Crocheting in the round becomes much easier when you mark the first stitch and count every round. Start with a small single-crochet circle, learn the difference between joined and continuous rounds, then move on to shaped projects.
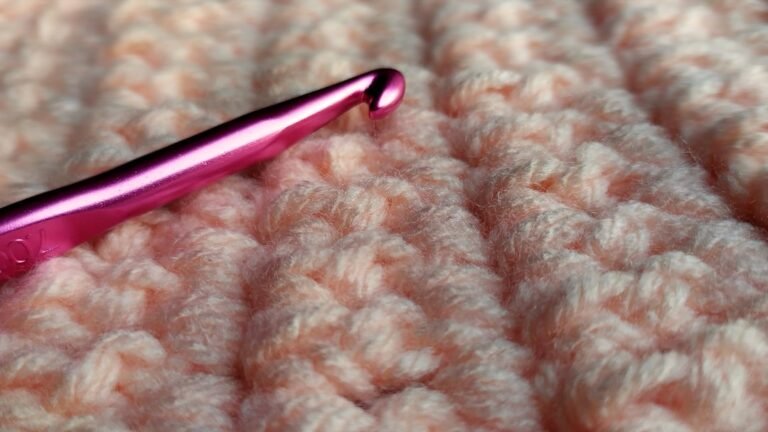
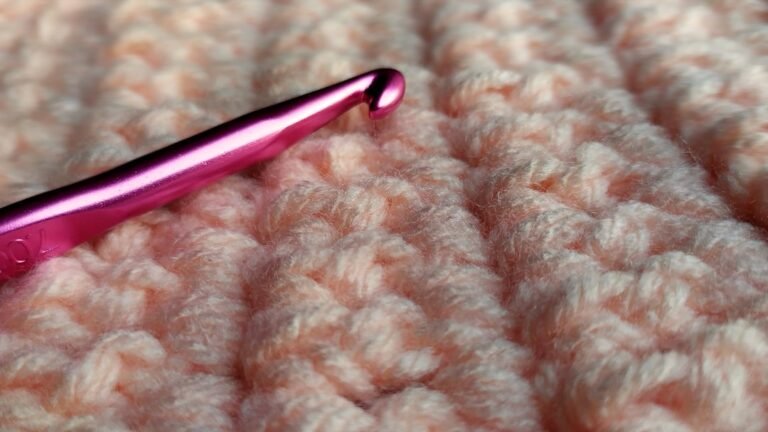
Photo: Marija Zaric via Unsplash.