How to Read a Crochet Pattern for Beginners
Reading your first crochet pattern can feel like learning a new language. You may see abbreviations such as ch, sc, dc, sl st, numbers inside parentheses, asterisks, brackets, and instructions telling you to repeat steps you have never seen before.
The good news is that crochet patterns become much easier to understand once you know how they are organized.
In this guide, you’ll learn how to read a crochet pattern step by step, understand common symbols and abbreviations, recognize repeats, check your stitch count, and avoid common beginner mistakes.
If you haven’t learned the basic crochet stitches yet, start with our How to Crochet for Beginners guide before continuing.
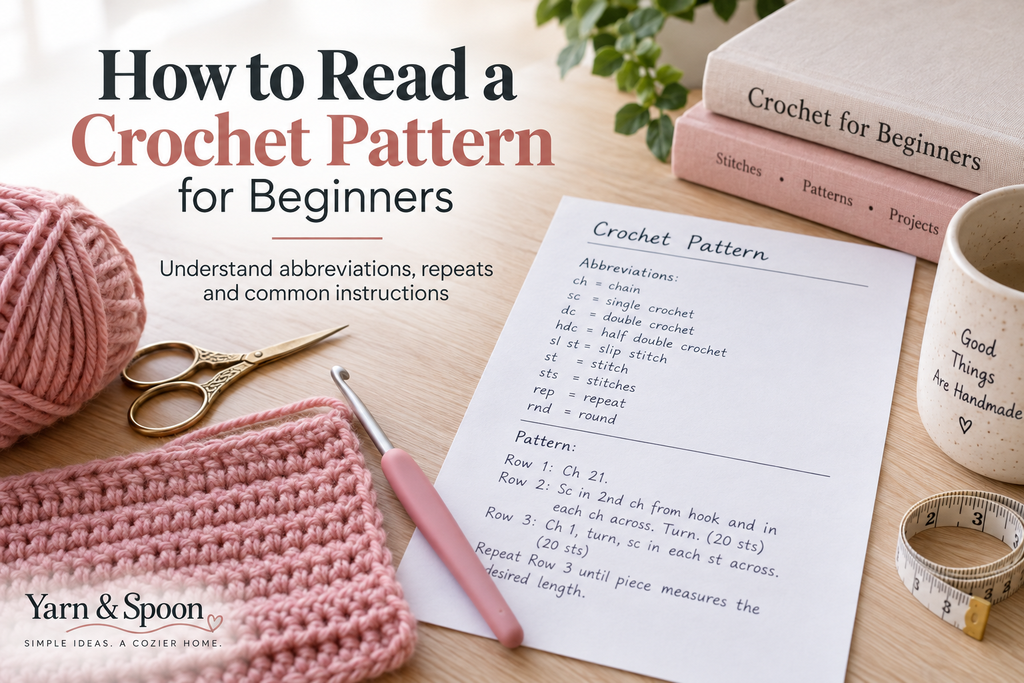
What Information Is Usually Included in a Crochet Pattern?
Before jumping directly into the instructions, read the beginning of the pattern.
A well-organized crochet pattern may include information such as:
- Skill level
- Finished size
- Yarn type and weight
- Crochet hook size
- Additional materials
- Gauge
- Abbreviations
- Special stitches
- Notes about construction
- Row or round instructions
- Finishing instructions
Reading these sections first can save you from discovering halfway through a project that you’re missing an important material or technique.
1. Check Whether the Pattern Uses US or UK Terms
This is one of the most important things to check before starting.
Crochet terminology isn’t identical everywhere.
For example, a stitch called single crochet (sc) in US terminology does not have the same name in UK terminology.
That means you shouldn’t assume the meaning of an abbreviation until you know which terminology the designer is using.
At Yarn & Spoon, our beginner crochet tutorials use US crochet terminology unless otherwise stated.
2. Read the Materials Before Starting
Next, check exactly what you’ll need.
A pattern might specify a particular:
- Yarn weight
- Yarn quantity
- Hook size
- Yarn needle
- Stitch marker
- Button or other accessory
Pay special attention to yarn weight.
Two yarns can look similar in a photograph but behave very differently when crocheted. Substituting a significantly different yarn weight can change the size, drape, and appearance of your project.
The hook size matters too, but don’t treat it as an absolute guarantee of finished size. Your individual crochet tension can affect the result.
3. Understand the Most Common Crochet Abbreviations
Crochet designers use abbreviations so they don’t have to write every stitch name repeatedly.
Instead of writing:
“single crochet in each stitch”
a pattern might say:
sc in each st
You don’t need to memorize every crochet abbreviation before beginning.
Start by learning the ones that appear most frequently in beginner patterns:
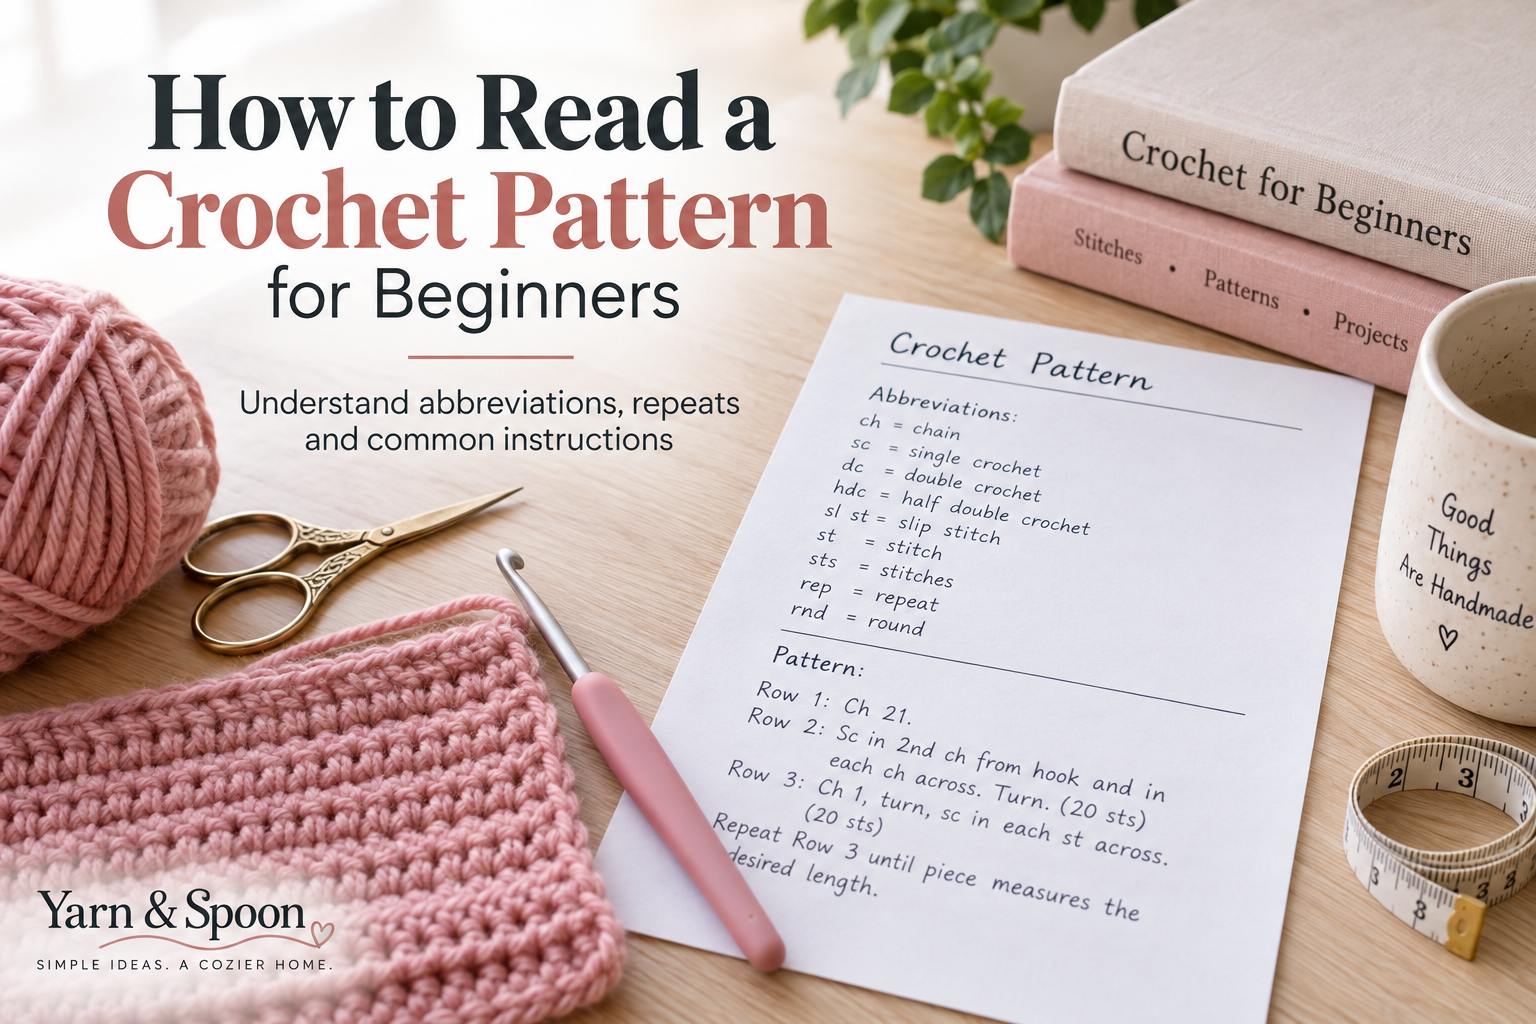
ch = chain
sc = single crochet
hdc = half double crochet
dc = double crochet
sl st = slip stitch
st = stitch
sts = stitches
sp = space
rep = repeat
rnd = round
Keep the pattern’s abbreviation key nearby while you work. After completing a few projects, many of these terms will become familiar naturally.
4. Learn How to Read Rows and Rounds
Crochet instructions are often divided into rows or rounds.
A project worked back and forth may say:
Row 1: …
Row 2: …
Row 3: …
A project worked around a center or in the round may instead say:
Round 1: …
Round 2: …
Round 3: …
Don’t rush through several rows at once.
Read one instruction, complete it, then move to the next.
For example:
Row 1: Sc in 2nd ch from hook and in each ch across. Turn.
This tells you to skip the first chain nearest the hook, make a single crochet in the second chain, continue working across the remaining chains, and then turn your work.
Breaking instructions into small actions makes them much easier to follow.
5. Understand Parentheses and Brackets
Parentheses and brackets often group stitches or instructions together.
For example:
(sc, ch 1, sc) in next st
This means all three actions inside the parentheses are worked into the indicated stitch:
- Single crochet.
- Chain one.
- Single crochet again.
The punctuation isn’t decoration. It helps show which instructions belong together.
Always check the pattern notes because individual designers may use formatting slightly differently.
6. Understand Asterisks and Repeats
The asterisk * is commonly used to mark instructions that need to be repeated.
For example:
*sc in next st, ch 1; rep from * across
You begin at the asterisk:
sc in next st, ch 1
Then repeat that sequence as instructed.
Patterns may also say something like:
Repeat from * 5 more times.
In that case, repeat the marked sequence the specified number of additional times.
When you’re a beginner, read the repeated section once before crocheting it. Knowing where the repeat begins and ends can prevent confusion halfway through the row.
7. Pay Attention to Stitch Counts
Many crochet patterns show a stitch count at the end of a row or round.
For example:
Row 4: Sc in each st across. (20 sts)
The (20 sts) tells you that you should have 20 stitches after completing that row.
Don’t ignore this number.
If you count 19 or 21 stitches instead, it’s usually better to find the mistake immediately rather than continuing for several more rows.
A small counting mistake can eventually change the shape of the entire project.
Stitch markers are particularly helpful for marking the beginning and end of rows or rounds.
8. Understand “Repeat” Instructions
Patterns don’t always write every row individually.
You might see:
Repeat Row 2 until piece measures 20 inches.
This doesn’t mean there’s missing information.
It means you should continue following the instructions from Row 2 until your work reaches the stated measurement.
Another pattern might say:
Repeat Rows 2–5 three more times.
In that case, complete Rows 2, 3, 4, and 5 as a sequence, then repeat that entire sequence three additional times.
Marking completed rows on paper or using a row counter can make longer repeats easier to track.
9. Learn What “Work Even” Means
You may occasionally see an instruction such as:
Work even for 5 more rows.
Generally, this means continuing in the established stitch pattern without increasing or decreasing the stitch count.
However, always interpret shorthand according to the notes and instructions provided by the specific pattern you’re following.
10. Don’t Ignore Gauge
Beginners are sometimes tempted to skip the gauge section.
For some projects, particularly garments or anything that needs to fit specific measurements, gauge can be very important.
A pattern might say something like:
14 stitches = 4 inches
If your stitches are significantly larger or smaller than the designer’s gauge, your finished project may also be larger or smaller than intended.
A gauge swatch lets you compare your crochet fabric with the pattern before investing time in the full project.
For items where exact size is less important, gauge may be less critical, but it’s still useful for understanding how your yarn, hook, and tension affect the fabric.
11. Read Special Stitch Instructions Carefully
Some patterns use stitches or combinations that don’t have a universal abbreviation.
When that happens, the designer should explain the special stitch somewhere in the pattern.
Don’t assume you know what a term means just because its name sounds familiar.
Read the designer’s definition first.
This is especially important for textured stitches, clusters, shells, decreases, and other stitch combinations.
12. Read the Entire Pattern Before You Crochet
This simple habit can prevent many beginner mistakes.
Before making your slip knot, quickly read the entire pattern from beginning to end.
You don’t need to understand every instruction immediately.
You’re simply looking for:
- Unfamiliar stitches
- Special materials
- Size changes
- Repeated sections
- Assembly instructions
- Finishing requirements
If something looks unfamiliar, you can learn it before reaching that part of the project.
Example: Translating a Crochet Instruction
Suppose a beginner pattern says:
Row 2: Ch 1, turn, sc in each st across. (18 sts)
Instead of seeing it as a confusing line of abbreviations, translate it into individual actions:
Ch 1 → Make one chain.
Turn → Turn your work so you can crochet back across the previous row.
Sc in each st across → Make one single crochet in each stitch across the row.
(18 sts) → Count your stitches when finished. You should have 18.
That’s the key to learning how to read crochet patterns:
Don’t try to understand the whole line at once. Decode it one instruction at a time.
Common Mistakes When Reading Crochet Patterns
Skipping the Pattern Notes
Important information about terminology, turning chains, construction, or special techniques may appear in the notes.
Read them before starting.
Ignoring the Stitch Count
If a pattern provides stitch counts, use them.
They can help you discover mistakes early.
Confusing US and UK Terminology
Always check which terminology the pattern uses.
Missing a Repeat
When you see an asterisk, bracket, or instruction containing “repeat,” identify exactly which stitches need to be repeated before continuing.
Guessing an Unknown Abbreviation
Don’t guess.
Check the abbreviation list supplied with the pattern or consult a reliable crochet terminology reference.
Continuing After Finding a Mistake
Undoing a few stitches or one row can be frustrating, but it’s often much easier than discovering the same error several rows later.
A Simple Checklist Before Starting Any Crochet Pattern
Before you begin your next project, ask:
✓ Is the pattern written in US or UK terminology?
✓ Do I have the correct yarn weight?
✓ Do I have an appropriate hook?
✓ Do I understand the abbreviations used?
✓ Are there any special stitches?
✓ Is gauge important for this project?
✓ Do I understand how repeats are marked?
✓ Do I know what the finished size should be?
If you can answer these questions, you’ll be much better prepared to begin.
Practice With a Beginner Project
The easiest way to become comfortable reading patterns is to actually use them.
After learning the basics, try one of these beginner projects on Yarn & Spoon:
Easy Granny Square Crochet Pattern for Beginners — practice following rounds and repeated stitch groups.
How to Crochet a Scarf for Beginners — practice reading rows and maintaining a consistent stitch count.
How to Crochet a Beanie for Beginners — practice following instructions for creating and finishing a wearable project.
Start with one project and keep this guide open while you crochet.
Frequently Asked Questions
Do I need to memorize crochet abbreviations?
No. Keep an abbreviation reference nearby and look up unfamiliar terms as you work. You’ll naturally remember frequently used abbreviations with practice.
Why are crochet patterns abbreviated?
Abbreviations make instructions shorter and easier to scan once you’re familiar with the terminology.
Are all crochet patterns written the same way?
No. Formatting and notation can vary between designers, which is why you should always read the notes and abbreviation key included with the specific pattern.
What should I do if I don’t understand one instruction?
Stop at that instruction and break it into smaller pieces. Check the pattern’s abbreviation or special-stitch section before continuing.
Should beginners use written patterns or videos?
Both can be useful. Written patterns help you learn crochet terminology and follow precise instructions, while visual demonstrations can make unfamiliar techniques easier to understand.
Final Thoughts
Learning how to read a crochet pattern is a skill of its own, and you don’t have to master it in one day.
Start by checking the terminology and materials. Learn the most common abbreviations, pay attention to repeats and stitch counts, and work through each instruction one piece at a time.
Soon, lines of crochet shorthand that once looked confusing will start making sense.
And once you can comfortably read a beginner pattern, you’ll have access to a much wider range of crochet projects to explore.