Easy Crochet Headband Pattern for Beginners
This easy crochet headband pattern is a practical beginner project for cooler weather. It is made as a simple rectangle, so you can focus on even rows and comfortable tension before joining the ends into a wearable headband.
Materials
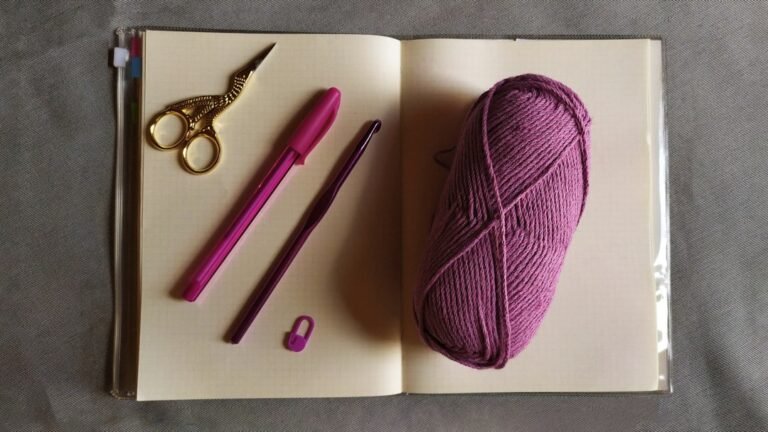
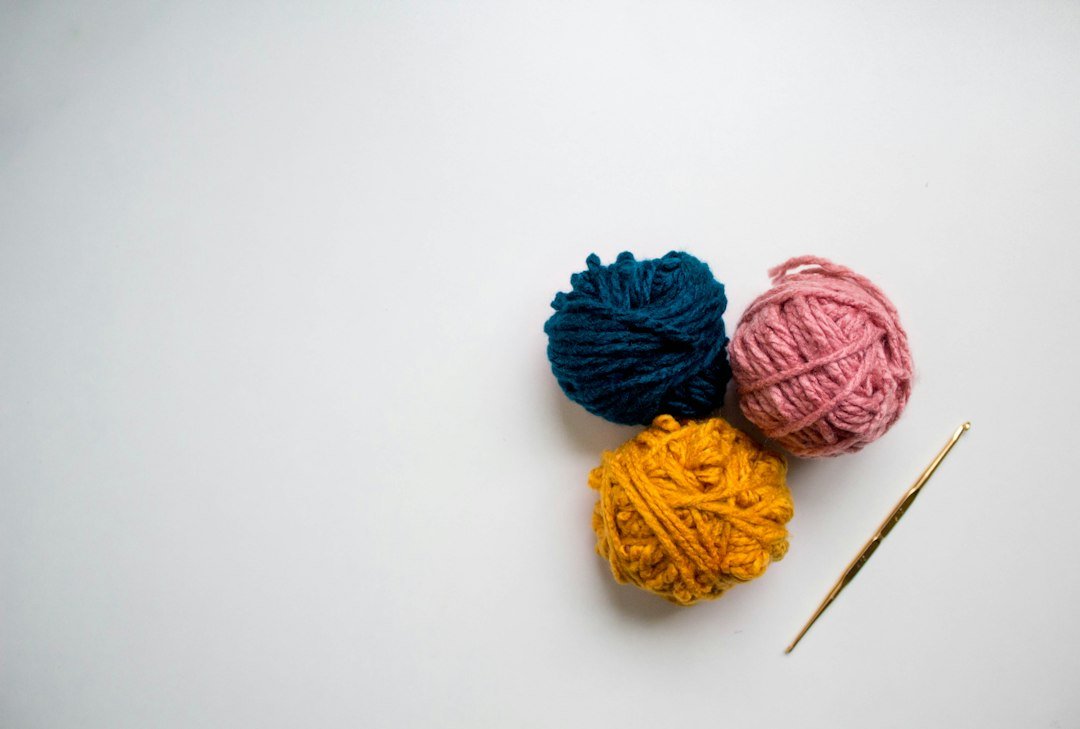
- Medium-weight yarn
- A crochet hook that matches the yarn label; 5 mm is a common starting point for many medium yarns
- Scissors
- Yarn needle
- Measuring tape
If you are still choosing supplies, see our beginner yarn guide and crochet hook sizes guide. Standard US crochet abbreviations are available from the Craft Yarn Council.
Stitches Used
This version works well in single crochet or half double crochet. Single crochet makes a denser fabric; half double crochet grows faster and gives a little more softness. Choose one stitch and use it consistently.
Easy Crochet Headband Pattern
- Choose the width. Make a starting chain that measures about 3 to 4 inches wide for a classic ear-warmer style.
- Work the first row. Crochet across the foundation chain in your chosen stitch.
- Continue in rows. Turn at the end of each row and keep the stitch count the same.
- Measure the length. Stop when the strip wraps around the head with gentle stretch. It should feel secure without being tight.
- Join the short ends. Sew or slip stitch the two ends together. For a simple twist look, fold each short end in half, interlock the folded ends, then seam through all layers.
- Finish. Fasten off and weave in all tails securely.
How to Size the Headband
Head size, yarn stretch, and stitch choice all affect the final length. Measuring the actual strip around the intended head is more reliable than using one fixed row count. If the fabric is very stretchy, make it slightly shorter than the measured circumference so it stays in place.
How to Keep the Edges Straight
Count your stitches at the end of every row. Most wavy or narrowing edges come from accidentally skipping the first or last stitch. A stitch marker in the first stitch of each row can help.
Easy Variations
Ribbed texture
Work through the back loop only for a simple ribbed effect.
Wider ear warmer
Add more chains at the beginning until the strip is the width you want.
Two-color headband
Change yarn colors every few rows for stripes. Our guide on changing colors explains the cleanest place to switch yarn.
More Beginner Projects
After this project, try the beginner crochet beanie, crochet scarf tutorial, or mug cozy pattern.
Easy Crochet Headband Pattern FAQs
What yarn is easiest for a beginner headband?
A smooth medium-weight yarn is a practical choice because the stitches are easy to see and the fabric grows at a comfortable pace. Wool blends, acrylic, and other soft yarns can all work. Avoid a very fuzzy yarn for a first attempt because it can make stitch counting and seaming harder.
How wide should a crochet headband be?
There is no single required width. Around 3 to 4 inches creates a classic ear-warmer shape, while a narrower band feels lighter and a wider band gives more coverage. Measure the strip as you work and choose a width that feels comfortable rather than relying on a fixed chain count.
Can I use a different stitch?
Yes. Single crochet makes a compact fabric, while half double crochet gives more height and softness. Back-loop-only stitches can add ribbing. If you change stitches, check the stretch and length before seaming because different stitch patterns can change the final fit.
Quick sizing tip
Before seaming, pin the short ends together and try the band on. This simple check is easier than undoing a finished seam if the fabric stretches more or less than expected.
Final Thoughts
A rectangle-style headband is useful practice for tension, turning rows, measuring, and seaming. Keep the fit flexible rather than relying on one exact stitch count, and adjust the width or texture to suit your yarn.
Photo: Karen Penroz via Unsplash.