Easy Crochet Cowl Pattern for Beginners
This easy crochet cowl is a cozy beginner project that works up quickly and uses a simple rectangle construction. If you can chain and work basic crochet stitches, you can make this warm neck accessory without shaping, complicated counting, or special techniques.
A cowl is especially useful when you want the warmth of a scarf without long ends. It slips over the head, sits neatly around the neck, and is easy to customize with different yarns, widths, and textures.
Why You’ll Love This Crochet Cowl
- Beginner-friendly rectangle construction.
- No complicated shaping.
- Quick enough for a weekend project.
- Easy to resize for adults or teens.
- Perfect for practicing consistent tension.
Materials
- About 180–250 yards of worsted weight #4 yarn.
- 5.5 mm crochet hook, or the hook recommended for your yarn.
- Yarn needle.
- Scissors.
- Measuring tape.
If you are unsure about hook sizes, see our crochet hook size guide. For yarn help, visit how to choose yarn for crochet.
Finished Size
A comfortable adult cowl is usually about 24–28 inches around and 8–10 inches tall. Since this pattern is made as a rectangle, you can simply keep crocheting until the length feels right before joining the ends.
Abbreviations
- ch = chain
- hdc = half double crochet
- st = stitch
Easy Crochet Cowl Pattern
Step 1: Make the Starting Chain
Chain 31, or enough chains to create a strip about 9 inches wide. Keep the foundation chain relaxed so the lower edge does not become tight.
Step 2: Crochet the First Row
Work one half double crochet in the second chain from the hook and in each chain across. Chain 1 and turn.
Step 3: Build the Texture
For the next row, work one half double crochet in the back loop only of each stitch across. Chain 1 and turn.
Repeat this row until the rectangle measures about 24–28 inches long. The back-loop-only technique creates subtle ribbing and gives the fabric a little extra stretch.
Step 4: Check the Fit
Before joining, wrap the rectangle loosely around your neck. It should feel comfortable rather than tight. Add more rows for a looser cowl or stop earlier for a closer fit.
Step 5: Join the Ends
Bring the short ends together. Slip stitch through both layers or sew the seam with a yarn needle. Keep the seam flexible so the cowl still stretches easily.
Step 6: Finish
Fasten off and weave in the yarn tails securely. If you need help with finishing, see our guide to weaving in crochet ends.
Optional Twisted Cowl
For a soft twist in the finished cowl, give one end of the rectangle a half turn before joining. This creates a simple Möbius-style look and helps the fabric drape naturally around the neck.
Ways to Customize Your Cowl
Make It Chunkier
Use bulky yarn and a larger hook for an extra-warm version. Make a small swatch first because thicker yarn changes both width and drape.
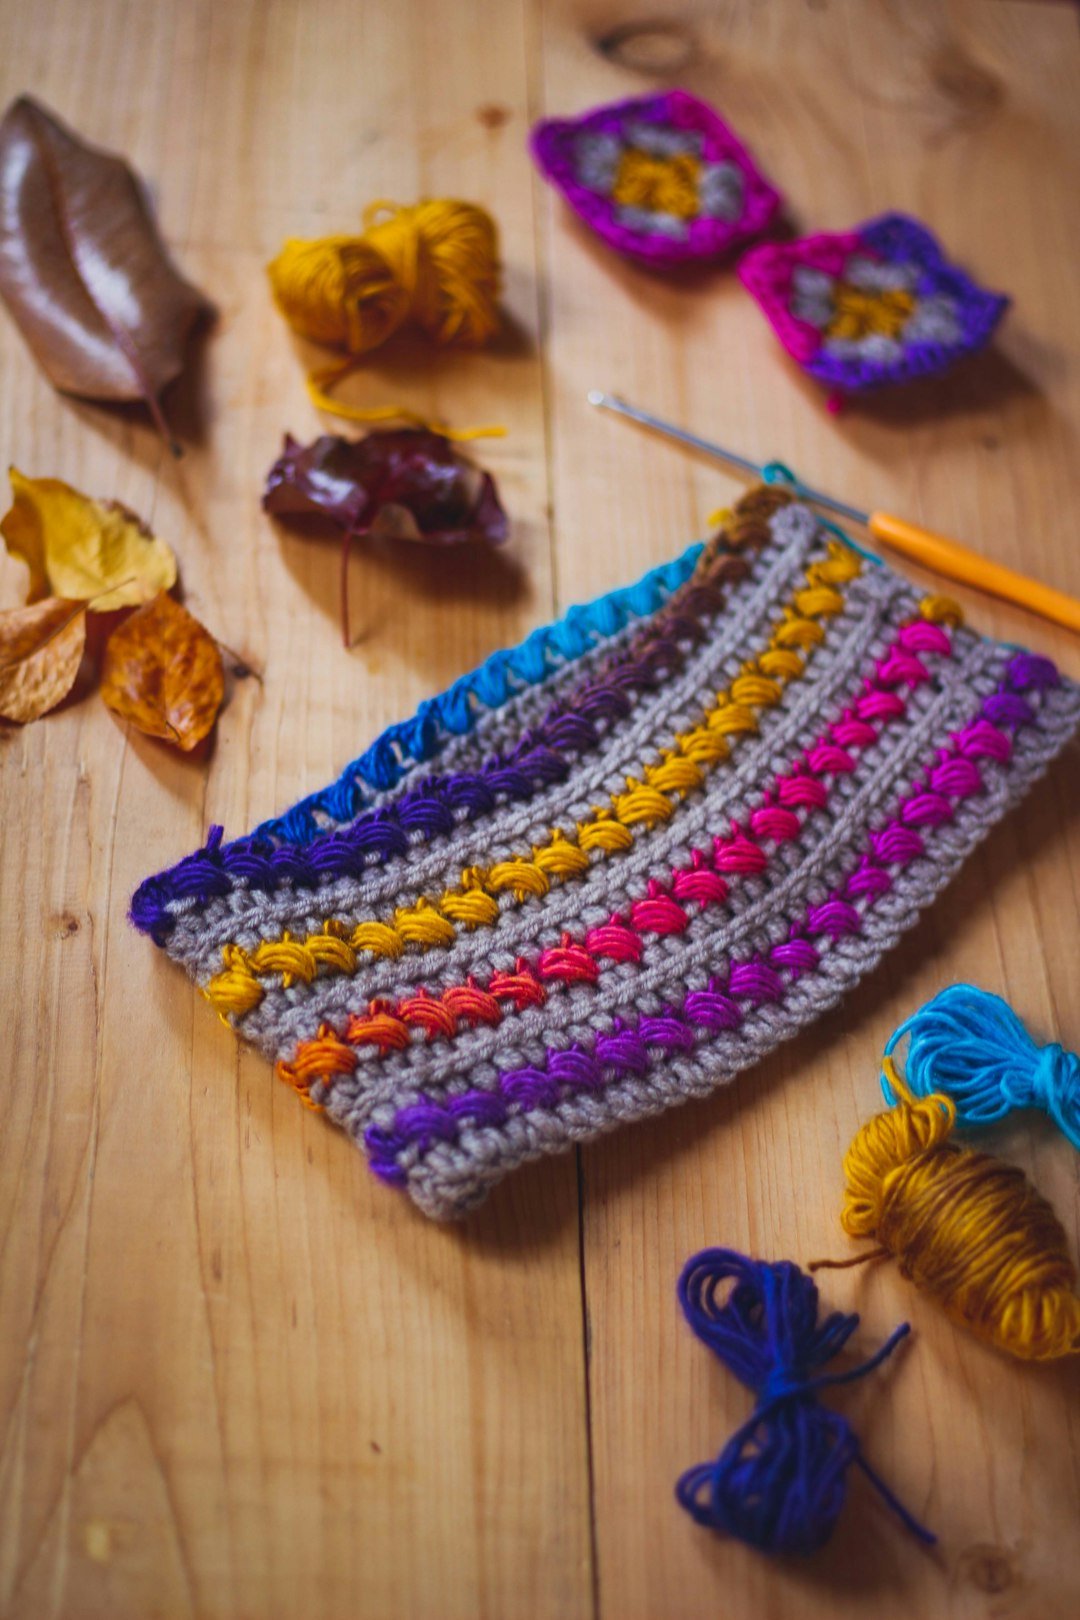
Add Stripes
Change colors every few rows for a striped cowl. Our color-changing tutorial shows a simple method for neat transitions.
Make It Taller
Start with more chains if you want a taller cowl that can bunch up around the neck. A 10–12 inch height creates a cozy winter look.
Tips for Neater Results
- Count stitches every few rows so the sides remain straight.
- Use stitch markers at the first and last stitch if you tend to miss edge stitches.
- Do not pull the turning chain too tightly.
- Choose a soft yarn because the cowl sits directly against the neck.
- Lightly block the finished piece if the fiber allows it.
Frequently Asked Questions
Can I use single crochet?
Yes. Single crochet makes a denser cowl. Half double crochet works up faster and creates a little more drape.
How much yarn do I need?
Most adult cowls made with worsted weight yarn need about 180–250 yards, depending on width, length, and stitch tension.
Is this easier than an infinity scarf?
Both are beginner-friendly, but a cowl is shorter and usually faster to finish. If you want a longer wrap style, try our easy crochet infinity scarf.
How to Calculate a Custom Cowl Size
Measure loosely around the head at the widest point, because the cowl must pass over that measurement even if it sits closer around the neck. Crochet the rectangle until its length is at least that measurement, then test it before seaming. Stretchy ribbing may allow a slightly shorter length, while dense cotton or stiff yarn may need more room.
Choosing Yarn for Comfort
A cowl touches the neck directly, so softness matters more than it might for a basket or coaster. Rub the yarn against the inside of your wrist or neck before committing to the project. Smooth acrylic, merino blends, or other soft washable yarns are common choices; very scratchy fibers can make an otherwise good cowl unpleasant to wear.
Seam Options
Slip stitching is fast and sturdy but can create a noticeable ridge. A yarn-needle seam can lie flatter. Whichever method you choose, match the seam tension to the stretch of the fabric so the joined edge does not become the tightest part of the cowl.
Measure the Opening Before You Join the Cowl
Pin the short ends together and slip the unfinished cowl over your head before seaming. The opening should pass comfortably without stretching the fabric to its limit. A cowl that fits closely at the neck still needs enough circumference to go over the head unless the pattern uses buttons or another opening.
Adjust Height Separately from Circumference
If the cowl is wide enough around but does not give enough neck coverage, add rows rather than adding length to the loop. Treat height and circumference as separate measurements so one adjustment does not accidentally make the other dimension too large.
Check Head Opening and Neck Coverage
This easy crochet cowl is a practical first wearable and a satisfying project for practicing even stitches. Once you understand the basic rectangle construction, you can make the same pattern in many colors, yarn weights, and textures.
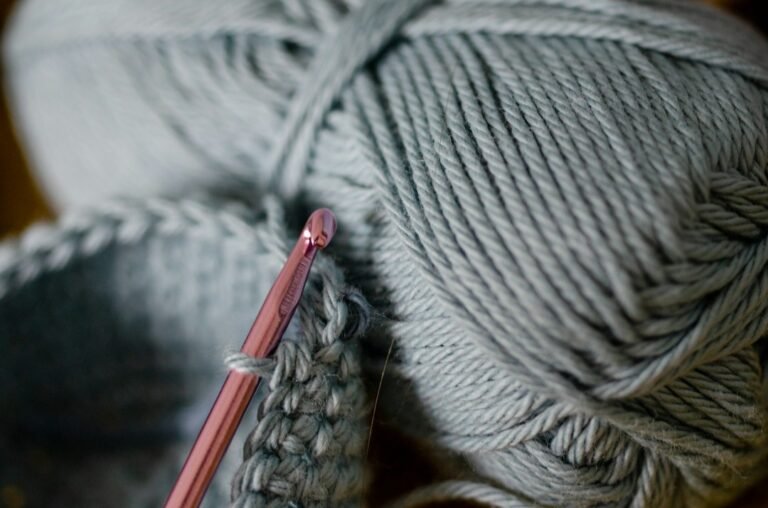
Featured photo by Nasim Keshmiri on Unsplash.