Easy Crochet Tote Bag for Beginners
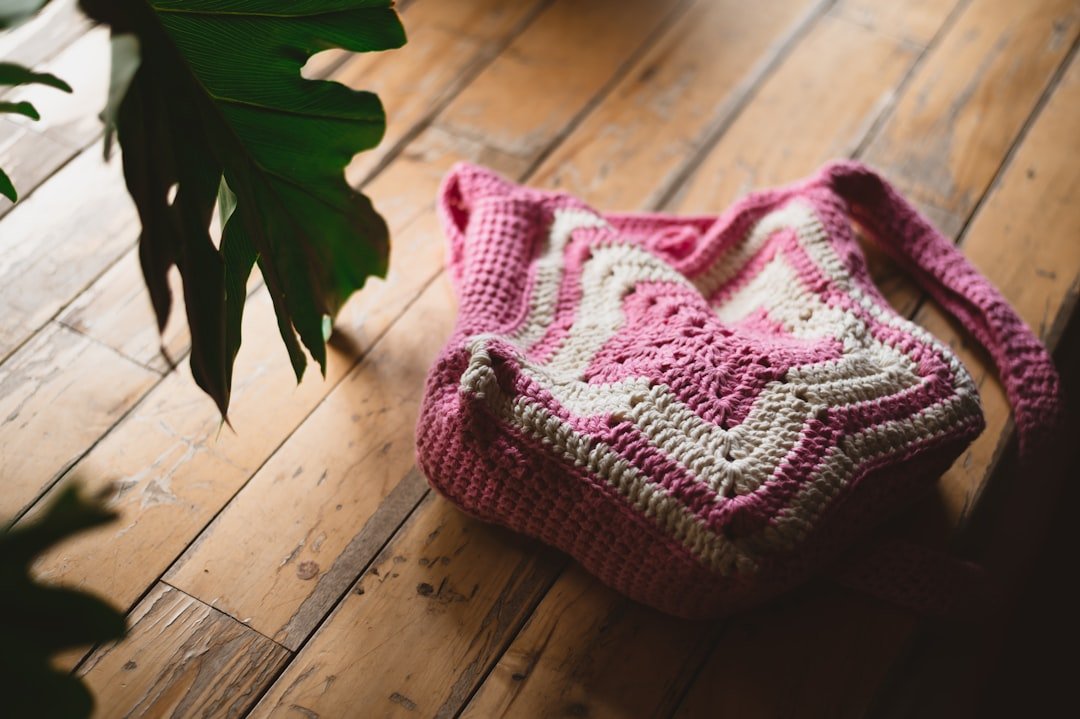
An easy crochet tote bag for beginners does not need complicated shaping. This tutorial uses two simple crochet panels, joined along the sides and bottom, with handles added at the top. The method is flexible, so you can adjust the width and height to suit your needs without relying on a single fixed gauge.
Easy Crochet Tote Bag at a Glance
- Skill level: Beginner
- Construction: Two flat panels joined together
- Main stitch: Single crochet
- Terminology: US crochet terms
- Sizing: Customizable
If you are still learning the basics, review our complete beginner crochet guide. Choosing the right hook is easier with our crochet hook sizes guide.
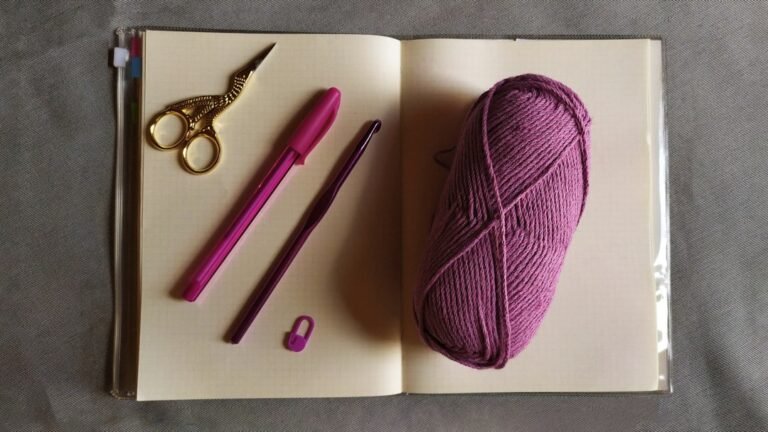
Materials
- Medium or sturdy yarn of your choice
- A crochet hook appropriate for the yarn
- Scissors
- Yarn needle
- Stitch markers, optional
- Tape measure, optional but useful
Cotton yarn is popular for bags because it can create a firm fabric, but other fibers can work too. The important part is choosing a yarn and hook combination that produces fabric with enough structure for the type of bag you want.
Crochet Abbreviations
- ch – chain
- sc – single crochet
- sl st – slip stitch
- st(s) – stitch(es)
For standard US abbreviations, see the Craft Yarn Council crochet abbreviations.
How to Make an Easy Crochet Tote Bag
Step 1: Decide your bag size
Choose the approximate width and height you want. Because this tutorial is adjustable, you do not need to match a specific gauge. Instead, crochet until each panel reaches the measurements you prefer.
Step 2: Make the first panel
Chain until the foundation chain is close to your desired bag width. Add one turning chain. Single crochet in the second chain from the hook and in each chain across.
For the next row, chain 1 and turn. Single crochet in each stitch across. Repeat this row until the panel reaches your desired height.
Try to keep the same stitch count in every row. If your edges begin to narrow or flare, count your stitches and make sure you are working into both the first and last stitch of each row.
Step 3: Make the second panel
Make a second panel using the same starting chain, stitch count, and number of rows as the first. Place the panels on top of each other occasionally to compare their size.
Step 4: Join the sides and bottom
Place the panels with the sides you want facing outward aligned together. Using a yarn needle and matching yarn, sew along one side, across the bottom, and up the other side. Leave the top open.
You can also join the panels with slip stitches or single crochet if you prefer a visible crocheted seam. Whichever method you choose, keep the seam consistent so the bag hangs evenly.
Step 5: Add handles
For simple crocheted handles, choose two points near the top edge of one panel. Join yarn at the first point, chain until the handle reaches a comfortable length, then attach the chain at the second point. Work single crochet back across the chain to strengthen it. Repeat for the second panel.
Handle length is a personal preference. Short handles work well for carrying by hand, while longer handles can fit over the shoulder. Before fastening off permanently, hold the bag and check that both handles feel balanced.
Optional Top Border
A single round of single crochet around the top opening can help tidy the edge. Join yarn at a side seam, chain 1, and work evenly around the opening. Join with a slip stitch when you return to the starting point.
If you want more help with edging techniques, see our guide to reading crochet patterns and our other easy crochet ideas for beginners.
How to Adjust the Tote
To make the bag wider, begin with a longer foundation chain. To make it taller, simply add more rows. If you want a denser fabric, try a smaller hook that still lets you work comfortably. If the fabric feels stiff and difficult to crochet, move up slightly in hook size.
Because yarn thickness and individual tension vary, measure the actual panel rather than relying on a universal stitch count.
Troubleshooting
The panels are different sizes
Check that both panels use the same starting chain and that you have the same number of stitches in every row. Count rows if one panel appears taller.
The bag stretches too much
A looser fabric may stretch more under weight. You can try a smaller hook, a firmer yarn, or add a fabric lining if you want extra structure.
The handles twist
Before securing each handle, lay the bag flat and make sure the chain is not twisted. Attach both handles at matching positions on the front and back panels.
Finishing
Weave in all loose ends securely and trim excess yarn. Check the seams from the inside and outside before using the bag. If you enjoy practical beginner projects, try our easy crochet dishcloth pattern or easy crochet coasters next.
Final Thoughts
This easy crochet tote bag for beginners keeps the construction simple while giving you room to personalize the size, yarn, and handles. Once you understand the two-panel method, you can experiment with colors, stripes, pockets, or decorative motifs without changing the basic structure.