How to Block Crochet for Beginners – Easy Step-by-Step Guide
Blocking is a finishing technique that helps crochet projects look smoother, more even, and more polished. It can straighten edges, open lace patterns, improve drape, and help matching pieces reach the same dimensions.
You do not need to block every crochet project, but it can make a noticeable difference in granny squares, scarves, garments, borders, and decorative pieces.
What Is Crochet Blocking?
Blocking means shaping a finished crochet piece to the desired measurements and allowing the fibers to settle into that shape. Depending on the yarn, this may involve water, light misting, or steam.
The safest method depends on the fiber. Always check the yarn label before adding water or heat.
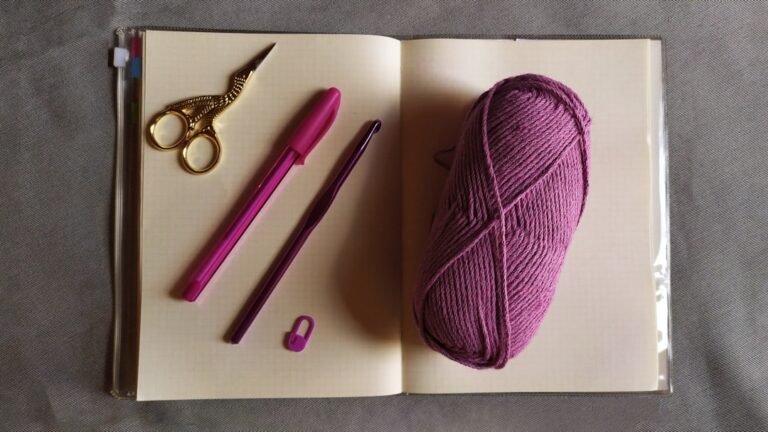
What You Need
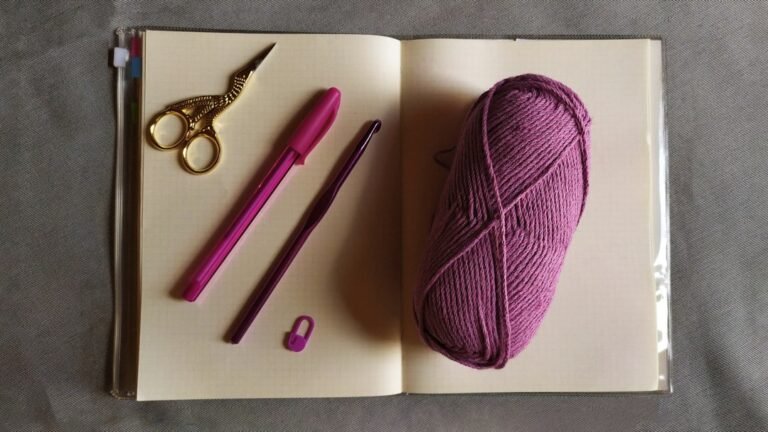
- Blocking mats or another clean, padded surface.
- Rust-resistant T-pins or blocking pins.
- Measuring tape or ruler.
- Spray bottle for spray blocking.
- Clean towel for wet blocking.
- Steamer or iron with steam function for appropriate fibers.
When Should You Block Crochet?
Blocking is especially helpful when your project has uneven edges, lace stitches, motifs that need matching sizes, or pieces that will be seamed together. It can also improve the drape of scarves and shawls.
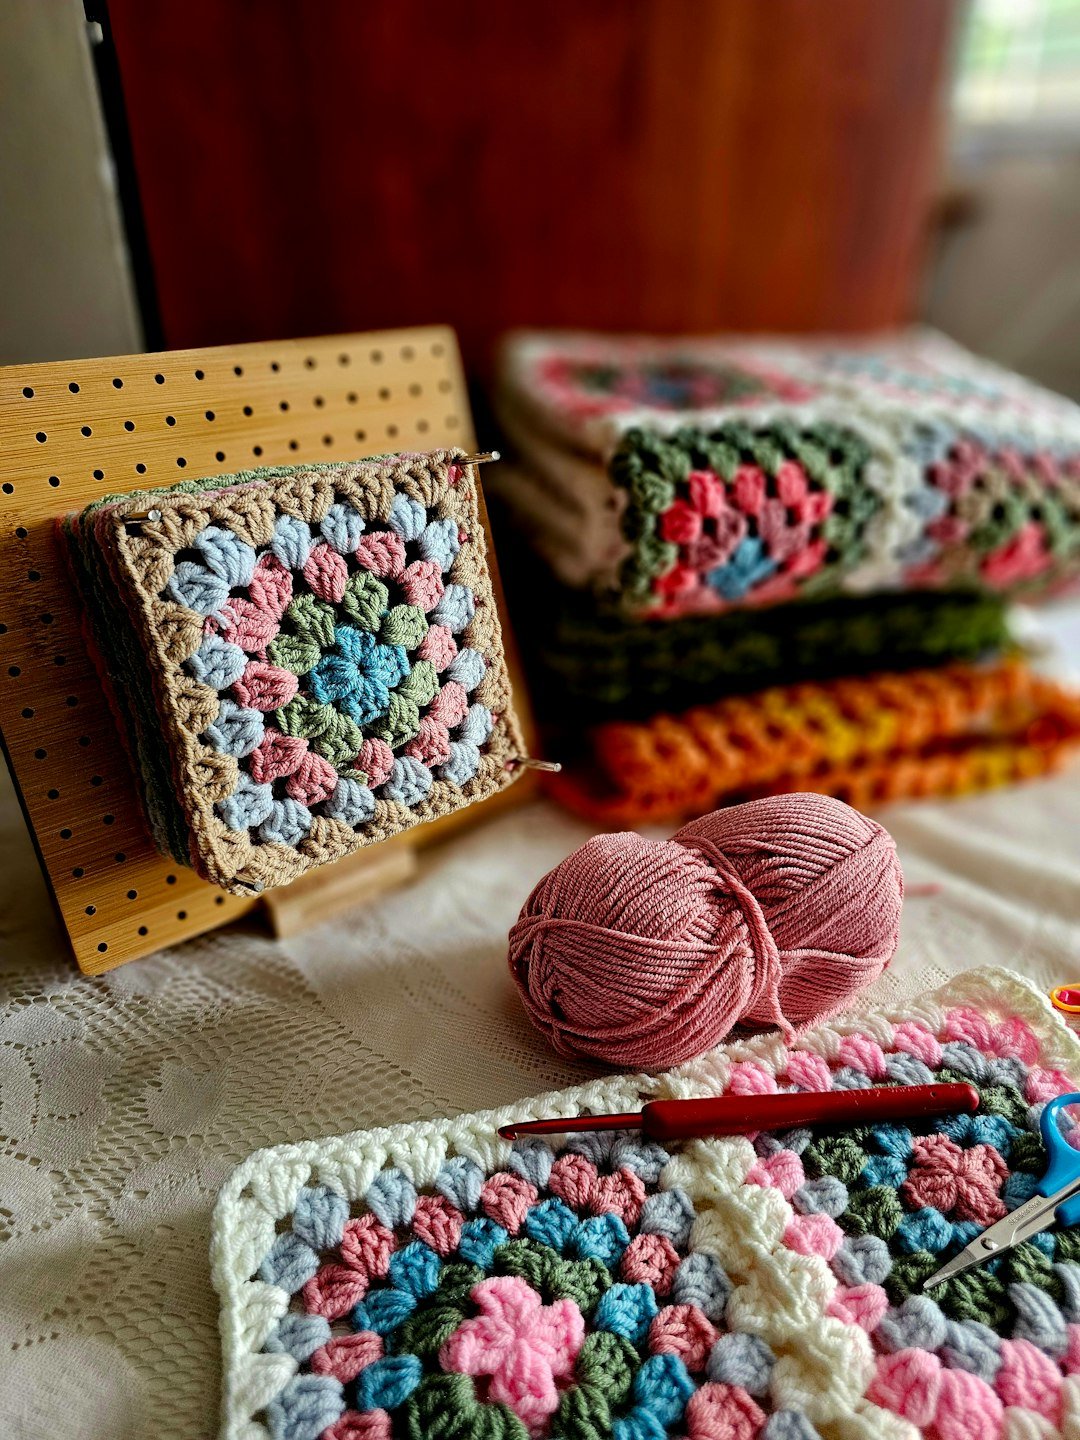
If you are making granny squares, blocking can make assembly much easier because each square can be shaped to a consistent size. See our beginner granny square pattern for a simple motif to practice with.
Method 1: Wet Blocking
Step 1: Soak the Project
Fill a clean basin with cool or lukewarm water. Place the crochet piece in the water and let it become fully saturated. Avoid aggressive rubbing or twisting.
Step 2: Remove Excess Water
Lift the piece carefully and gently squeeze out water without wringing. Roll it in a clean towel and press to remove more moisture.
Step 3: Shape and Pin
Place the damp crochet on blocking mats. Use a measuring tape to shape it to the desired dimensions, then pin around the edges. Place pins close enough together to avoid scalloped or stretched sections.
Step 4: Let It Dry Completely
Leave the project pinned until fully dry. This may take several hours or overnight depending on the yarn and thickness.
Method 2: Spray Blocking
Spray blocking is gentler and useful when a piece only needs light shaping.
- Lay the crochet piece on your blocking surface.
- Shape it to the correct measurements.
- Pin it in place.
- Mist evenly with clean water until damp but not soaked.
- Allow it to dry completely before removing the pins.
Method 3: Steam Blocking
Steam can be effective, but heat must be used carefully. Hold the steamer or iron above the fabric rather than pressing directly onto the yarn. Let the steam relax the fibers, shape the piece, and leave it in place until cool and dry.
Important: acrylic yarn can permanently flatten or melt if exposed to too much heat. Never press a hot iron directly onto acrylic crochet.
Which Blocking Method Should You Use?
Wool and Animal Fibers
Wet blocking often works very well for wool because the fibers respond naturally to moisture and shaping.
Cotton
Wet or spray blocking is usually effective for cotton. Cotton may stretch while wet, so measure carefully.
Acrylic
Spray blocking is the safest beginner option. Steam can also change acrylic, but use distance and very gentle heat because high heat can permanently alter the fiber.
How to Block Granny Squares
Measure the size you want, place each square on the mat, and pin the corners first. Then add pins along the sides so the edges stay straight. If you are blocking several squares, use the same measurements for all of them.
How to Block a Scarf or Cowl
Lay the item flat and smooth it without overstretching. Straighten the long edges and make sure both ends have similar width. A light spray block is often enough for simple scarves and cowls.
If you are making a new wearable, try our easy crochet cowl pattern.
Common Blocking Mistakes
- Using too much heat on synthetic fibers.
- Stretching the project beyond its natural shape.
- Removing pins before the piece is fully dry.
- Using pins that can rust.
- Skipping measurements when several pieces must match.
Do You Block Before or After Weaving in Ends?
For most projects, weave in the ends before blocking, but leave a tiny extra tail until the project is completely dry. This gives the fabric a little room to settle. Learn more in our weaving in ends guide.
Does Blocking Permanently Change Crochet?
Natural fibers often remember the blocked shape well, although washing may require re-blocking. Acrylic can be permanently changed by heat, which is why steam blocking should be approached carefully.
Frequently Asked Questions
Do beginners need blocking mats?
No. A clean padded surface can work, but interlocking foam mats are convenient because they hold pins well and are easy to measure.
Can I block without pins?
For very light shaping, yes. However, pins are useful when you need straight edges, specific measurements, or matching motifs.
Should every crochet project be blocked?
No. Items like simple baskets or textured household pieces may not need it. Use blocking when it improves shape, drape, or assembly.
Match the Blocking Method to the Fiber
Read the yarn label before choosing water or heat. Wool and many natural fibers often respond well to wet blocking, while acrylic can react permanently to excessive heat. If you use steam on a synthetic fiber, keep the heat source away from direct contact and test a swatch first. When in doubt, use the gentlest method recommended for the yarn.
Pin Measurements, Not Just Edges
For squares, garment pieces, and matching panels, measure the target width and height before pinning. Place pins at regular intervals and check opposite sides as you work. Blocking is most useful when it helps pieces reach consistent dimensions rather than simply stretching them until they look flat.
Block to Measurements, Not Just Appearance
Blocking is a simple finishing skill that can make handmade crochet look cleaner and more consistent. Start with spray blocking if you are unsure, check your yarn label, measure carefully, and avoid excessive heat.
Featured photo by Srozan Nadzmi on Unsplash.