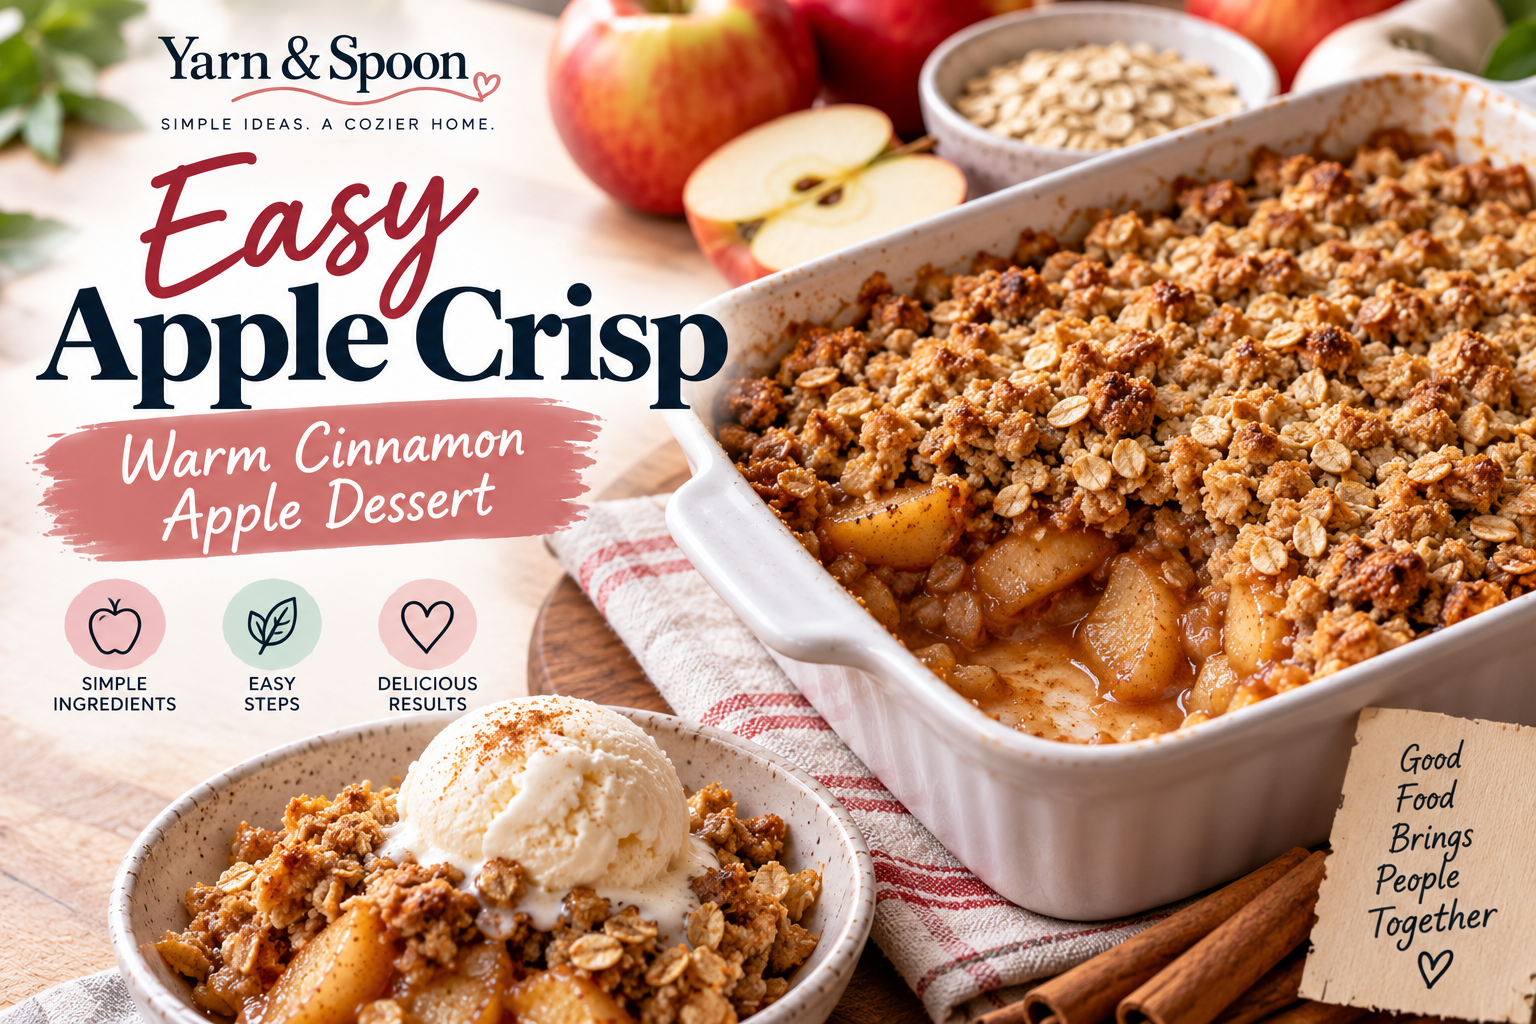
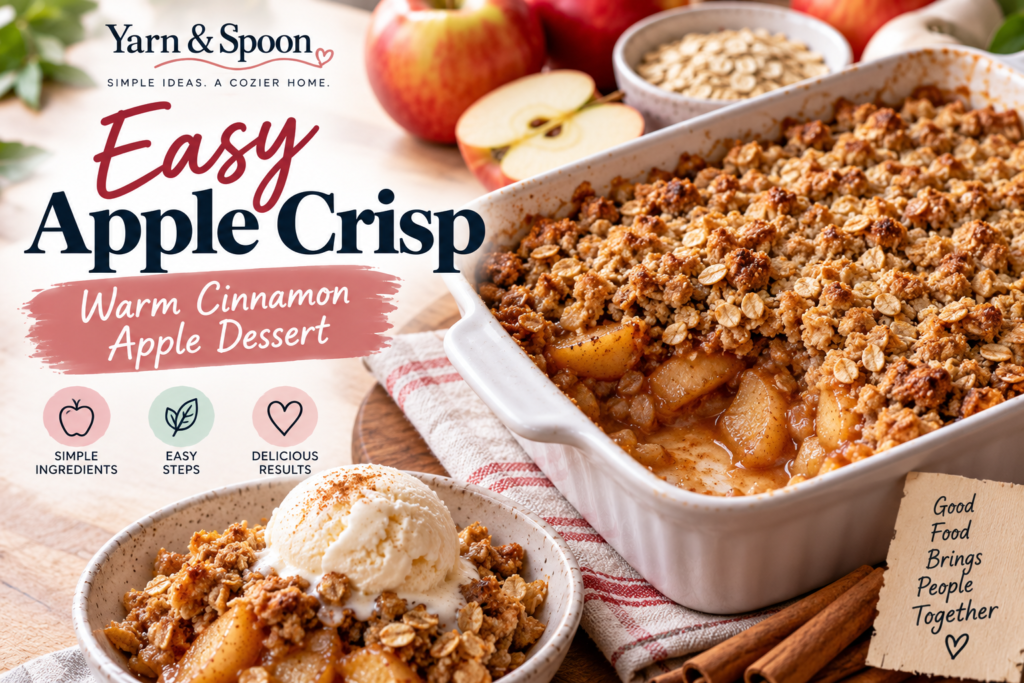
Easy Apple Crisp – Warm Cinnamon Apple Dessert
This easy apple crisp combines tender cinnamon-spiced apples with a golden oat topping for a simple homemade dessert that feels especially comforting when served warm.
Unlike apple pie, there’s no pastry dough to roll or shape. You prepare the apple filling, mix a crumbly oat topping, and bake everything together until the fruit is tender and the top is golden.
It’s a practical dessert for fall, family dinners, holidays, or any time you have a few apples waiting to be used.
Why You’ll Love This Easy Apple Crisp
This recipe is a great choice when you want a homemade dessert without complicated baking techniques.
You’ll love it because it:
- Uses familiar ingredients
- Doesn’t require pie dough
- Has a crisp oat topping
- Can be prepared in one baking dish
- Works well as a warm dessert
- Pairs beautifully with vanilla ice cream
Ingredients
For the Apple Filling
- 6 medium apples
- 2 tablespoons granulated sugar
- 1 tablespoon brown sugar
- 1 tablespoon lemon juice
- 1 teaspoon ground cinnamon
- ¼ teaspoon ground nutmeg, optional
- 1 tablespoon all-purpose flour
- 1 teaspoon vanilla extract
For the Crisp Topping
- ¾ cup (95 g) all-purpose flour
- ¾ cup (75 g) old-fashioned rolled oats
- ½ cup (100 g) packed brown sugar
- ½ teaspoon ground cinnamon
- ¼ teaspoon salt
- ½ cup (113 g) cold unsalted butter, cut into small cubes
Choosing Apples for Apple Crisp
The apples are the star of this dessert, so choosing a variety that holds its shape reasonably well during baking can improve the finished texture.
You can also combine two apple varieties to create a balance between sweetness and tartness.
Regardless of the variety, try to cut your apples into pieces of similar thickness. Evenly sized slices are more likely to soften at approximately the same rate.
Step 1: Preheat the Oven
Preheat your oven to 350°F (175°C).
Lightly grease an approximately 8- or 9-inch baking dish.
Set the dish aside while you prepare the apples.
Step 2: Prepare the Apples
Peel and core the apples.
Slice them into reasonably even pieces so they cook consistently.
Place the sliced apples in a large bowl.
Step 3: Make the Apple Filling
Add the granulated sugar, brown sugar, lemon juice, cinnamon, optional nutmeg, flour, and vanilla to the apples.
Gently toss until the apple slices are evenly coated.
Transfer the mixture to your prepared baking dish and spread the apples into an even layer.
Step 4: Mix the Dry Topping Ingredients
In another bowl, combine:
- Flour
- Rolled oats
- Brown sugar
- Cinnamon
- Salt
Stir until everything is evenly distributed.
Step 5: Add the Butter
Add the cubes of cold butter to the oat mixture.
Using your fingertips, a fork, or a pastry cutter, work the butter into the dry ingredients until you have a crumbly mixture with pieces of varying sizes.
You don’t need to turn it into a completely smooth dough.
Those crumbs help create the characteristic topping of an apple crisp.
Step 6: Add the Topping
Scatter the oat mixture evenly over the apples.
Try to cover most of the fruit, but don’t press the topping firmly into the filling.
Keeping it relatively loose helps preserve its crumbly texture.
Step 7: Bake the Apple Crisp
Bake at 350°F (175°C) for approximately 40–50 minutes.
The topping should look golden and the apple filling should be bubbling around the edges.
To check the fruit, carefully insert a small knife into an apple slice. It should feel tender rather than hard.
If the topping is browning faster than the apples are cooking, loosely cover the dish with foil for part of the remaining baking time.
Step 8: Let It Rest
Remove the apple crisp from the oven and allow it to rest for approximately 10–15 minutes before serving.
The filling will be extremely hot immediately after baking, and a short rest also gives the juices some time to settle.
How to Get a Crisp, Crumbly Topping
A good topping should have texture rather than becoming a smooth layer.
Start With Cold Butter
Cold butter is easier to work into distinct crumbs.
Use Old-Fashioned Rolled Oats
Rolled oats provide more noticeable texture than finely processed oats.
Don’t Overwork the Mixture
Stop mixing when you have a crumbly texture.
Don’t Pack the Topping Down
Scatter it over the fruit instead of compressing it.
How to Avoid Watery Apple Crisp
Apples naturally release moisture while baking.
A small amount of flour in the filling helps the juices thicken as the dessert cooks.
It’s also important to let the crisp rest briefly after baking rather than immediately scooping it from the oven.
Keep in mind that different apple varieties contain different amounts of moisture, so the exact consistency can vary.
Easy Apple Crisp Variations
Add Chopped Nuts
Chopped pecans or walnuts can add extra crunch to the topping.
Add More Warm Spices
A small amount of ginger or allspice can complement the cinnamon.
Mix Different Apples
Combining a sweeter apple with a more tart variety can create a more complex flavor.
Add Berries
A small amount of blueberries, blackberries, or cranberries can transform the dessert into an apple-and-berry crisp.
What to Serve With Apple Crisp
Apple crisp is delicious by itself, especially while slightly warm.
For an extra-special dessert, serve it with:
- Vanilla ice cream
- Whipped cream
- A small drizzle of caramel sauce
- Greek yogurt for a breakfast-style serving
The contrast between warm apples and cold vanilla ice cream is particularly popular.
How to Store Leftover Apple Crisp
Allow leftovers to cool before storing them.
Cover the baking dish or transfer portions to a suitable food-storage container and refrigerate.
For food-safety and storage guidance, you can consult the USDA FoodKeeper resources.
External link placement: link the words USDA FoodKeeper resources to the official USDA FoodKeeper information page.
How to Reheat Apple Crisp
Individual portions can be reheated gently.
Using an oven can help restore some of the topping’s texture, while a microwave is convenient when you only want to warm a single serving.
Avoid overheating it because the apple filling can become extremely hot.
Common Apple Crisp Problems
The Apples Are Still Hard
They may need additional baking time, or the slices may have been cut too thick.
The Topping Isn’t Crisp
Too much moisture or an overly compact topping can make it softer.
The Topping Browns Too Quickly
Cover the dish loosely with foil while the apples continue cooking.
The Filling Is Too Runny
Give the dessert time to rest after baking. The juices can thicken somewhat as the crisp cools.
Apple Crisp vs. Apple Pie
Although both desserts feature baked apples, they’re constructed differently.
Apple pie typically uses pastry crust, while apple crisp uses a crumbly topping commonly made from ingredients such as flour, oats, sugar, and butter.
That makes apple crisp particularly approachable when you want the flavor of a baked apple dessert without preparing pastry.
More Easy Baking Ideas
If you want another simple homemade treat, try our Easy Blueberry Muffins – Soft, Fluffy & Moist.
For classic cookies, make our Easy Chocolate Chip Cookies – Soft & Chewy.
And if you’re in the mood for a cozy weekend baking project, try our Easy Homemade Cinnamon Rolls – Soft & Gooey.
Frequently Asked Questions
Do I have to peel the apples?
No, but peeling creates a softer, more uniform filling. Leaving the skins on will give the dessert more texture.
Can I prepare apple crisp ahead of time?
You can prepare components ahead, but keeping the topping separate from the apples until closer to baking can help prevent it from absorbing too much moisture.
Can I use quick oats?
The texture will be different. Old-fashioned rolled oats provide a more pronounced oat texture in the topping.
Why is my apple crisp watery?
Apple varieties differ in moisture content. The amount of thickener, baking time, and resting time can also affect the final consistency.
How do I know when it’s finished?
Look for a golden topping, bubbling juices around the edges, and apples that feel tender when carefully tested with a knife.
Final Thoughts
This easy apple crisp is proof that a comforting homemade dessert doesn’t need complicated pastry techniques.
Tender cinnamon apples and a buttery oat topping do most of the work. Serve it warm on its own or add vanilla ice cream for a classic finish.
Once you understand the basic recipe, you can experiment with different apple varieties, spices, nuts, and berries to make it your own.